Halloween!
There is no holiday more wonderful than Halloween.
This truth I live by.
Every year on the weekend before Halloween, my friend Mish and I throw a big party at our friend’s bar in the heart of Greektown, Detroit. And I may be a bit partial, but outside of Theatre Bizarre I really think it’s the best Halloween party ever.
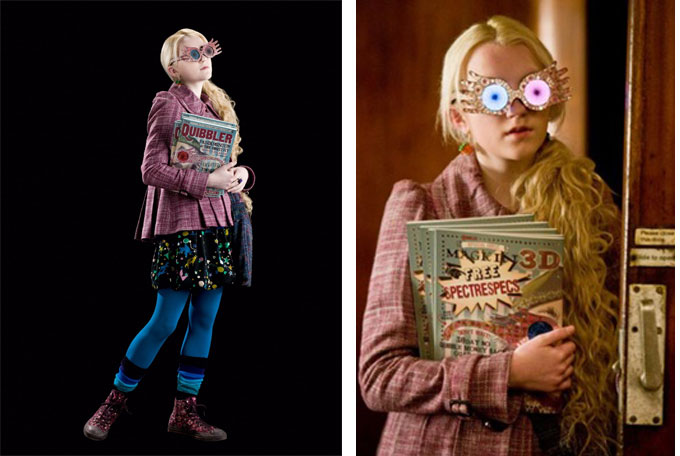
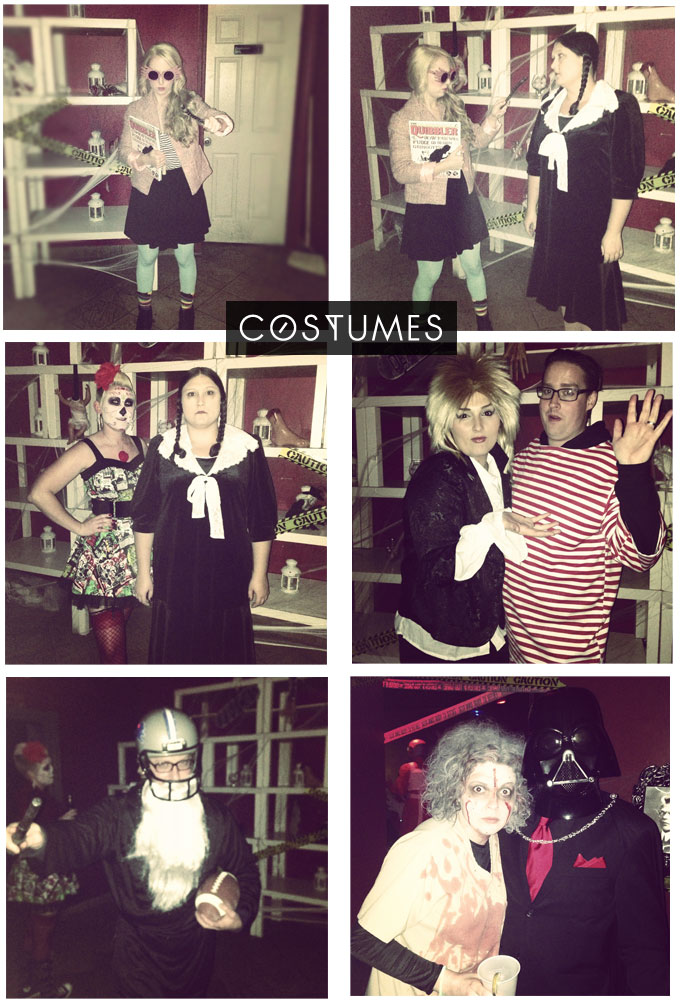
This year I decided to dress as one of my favorite characters of all time, Luna Lovegood, from the Harry Potter books. She’s my spirit animal.
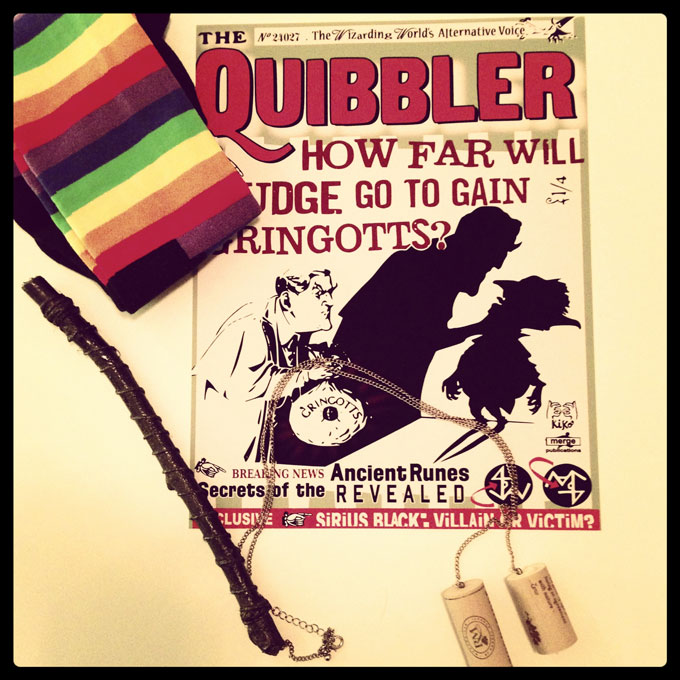
To achieve the Luna look, I ordered a pink tweed jacket from Ebay, and paired it with a black skirt and blue tights I already owned. I bought some colorful striped socks, a pair of spectrespecs, made a wand out of a stick from my yard (wrapped in hemp string and spray painted in oil rubbed bronze), and made a necklace of “butterbeer” corks (ahem…cheap-ass wine corks). And last but not least, I downloaded a Quibbler cover page, printed it at 8.5 by 11 and attached it to the cover of an old magazine.
I also ordered some raddish earrings from Etsy, but they didn’t arrive in time.
[CUE THE WORLD ENDING]
JK. I survived.
It was one of my favorite costumes to date, and I loved every second of being Luna Lovegood. The greatest thing about nerdtown costumes like these, is that half (or more) of the party has no idea who you are, but then every so often someone will coming running at you from across the room and scream LUNNNNAAAAA!!!! and then you’re immediately best friends forever.
And that is what makes life worth living.
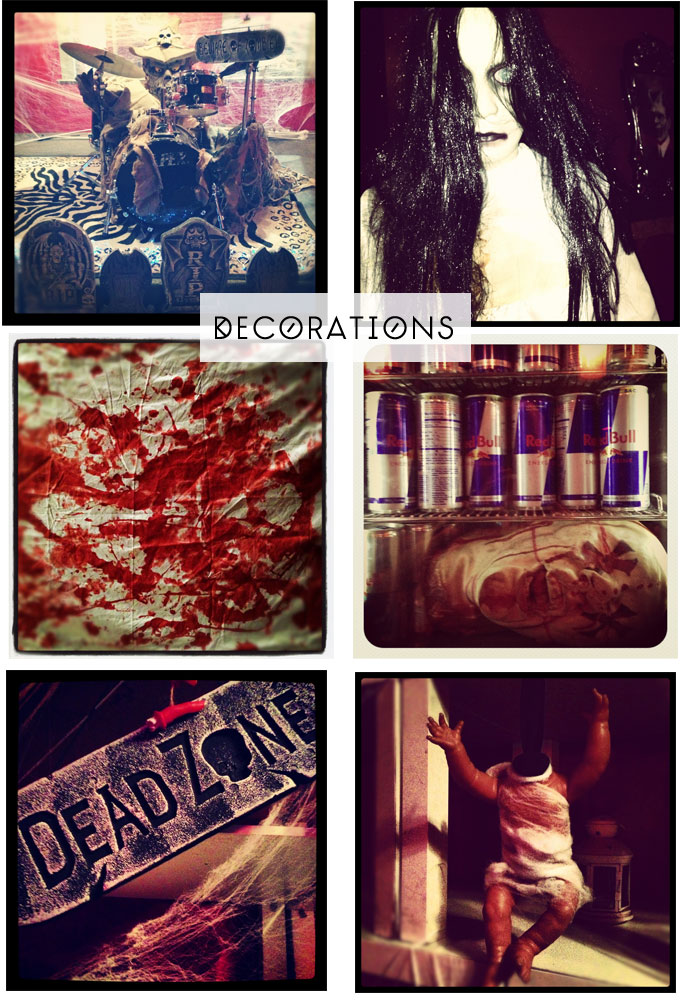
The night before the party we schlepped all our decorations to the bar and bedecked the place with wild abandon. (I apologize in advance – I forgot my camera, so all my photos are from Instagram).
The top right photo above is of Cleotilda. She’s a life size horrifying decoration and is 100% proven to be haunted. (another time).
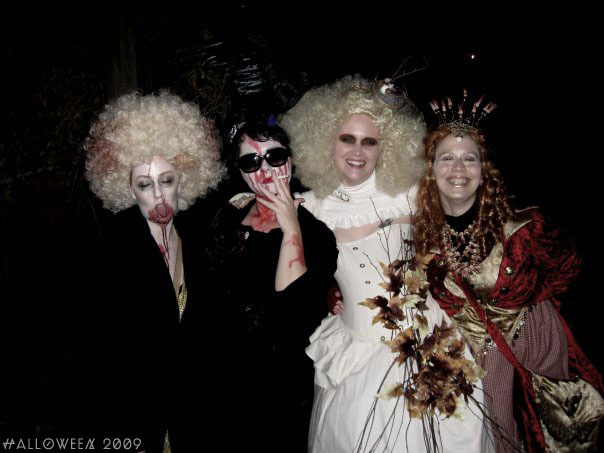
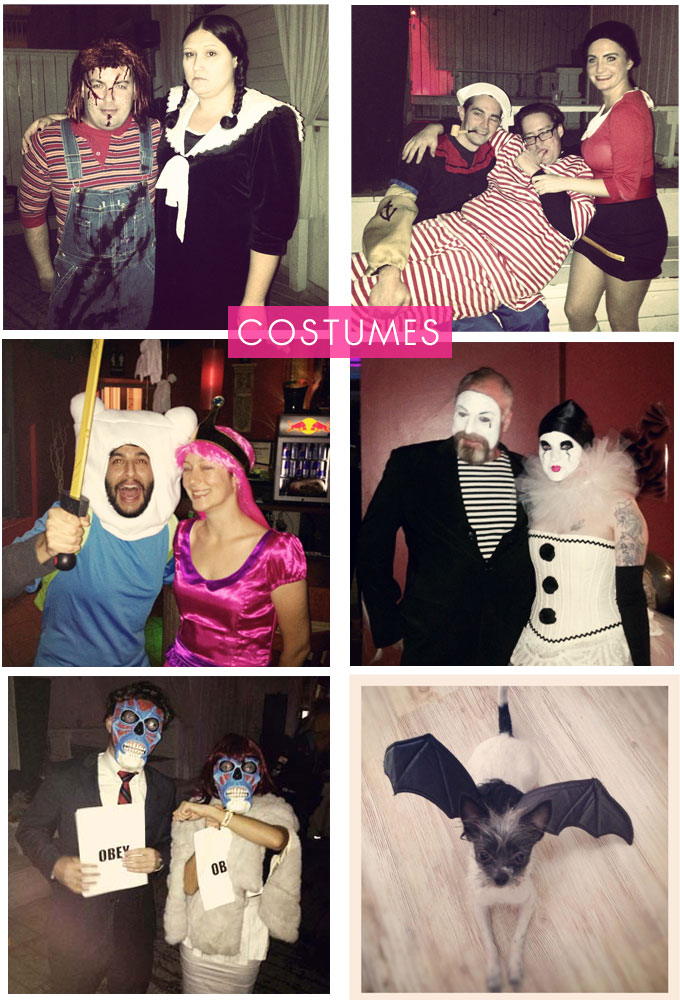
Seeing everyone’s costumes as they walk in is the most fun. Here are some shots of the amazing costumes of the night (I wish I had gotten everyone’s photo!).
Brownie points to anyone who can guess the costume on the bottom left photo above (think of it as a riddle).
Can anyone guess the costume in the bottom left photo above? Here’s a clue: “I have come here to chew bubblegum and kick ass… and I’m all out of bubblegum.”
And okay, okay, Eleanor Rigby wasn’t actually at the party. But just look at her in those little bat wings. I mean, she’s so cute I JUST THREW UP.
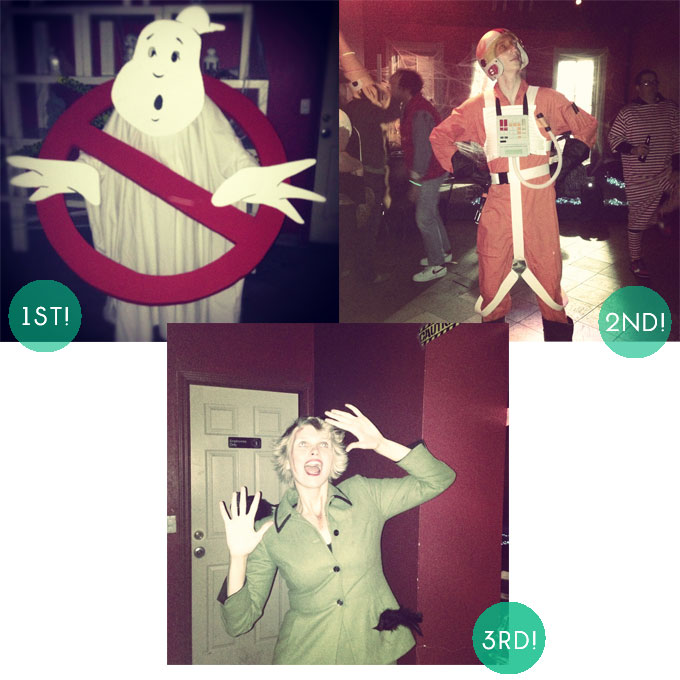
We do a costume contest every year and people take it pretty seriously. Here are the winners.
Annie killed it in that Ghost Buster’s costume. She won by like a million votes and pretty much made that party her bitch.
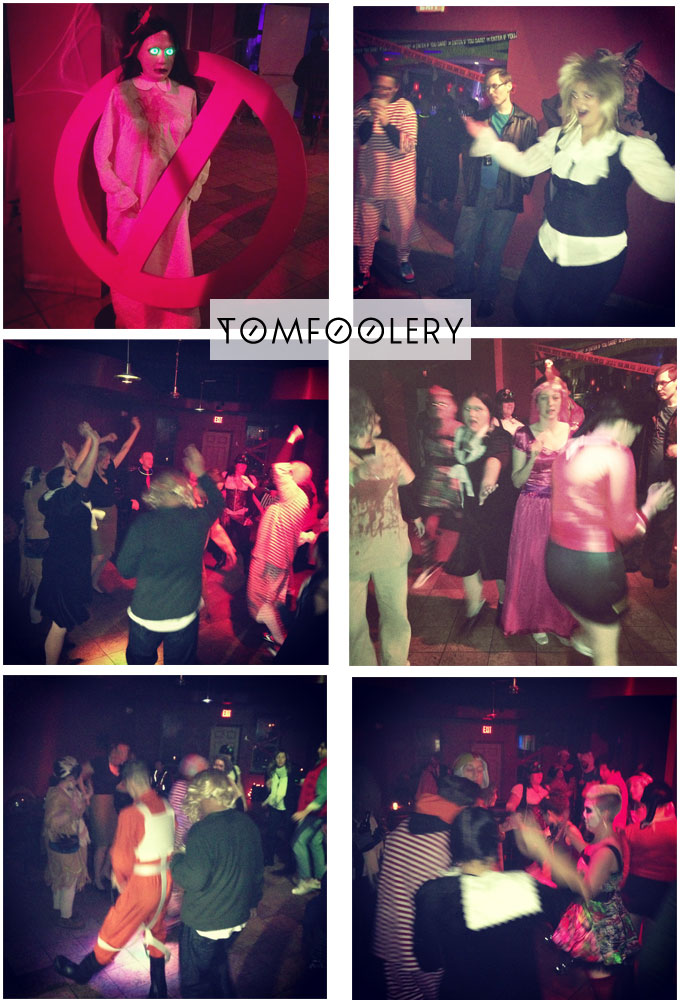
The rest of the night included synchronized Thriller dancing, regular dancing, Cleotilda antics and typical Halloween carrying-on. With fervor.
My people know how to do it.
Happy Halloween!!!! xoxo
Posted in cleotilda, costumes, exodos, luna lovegood // 3 Comments
OMG I DIY.
Here’s a little peak at some of the things that have been happening with the bevy of antique splendor that wandered into my house over the summer.
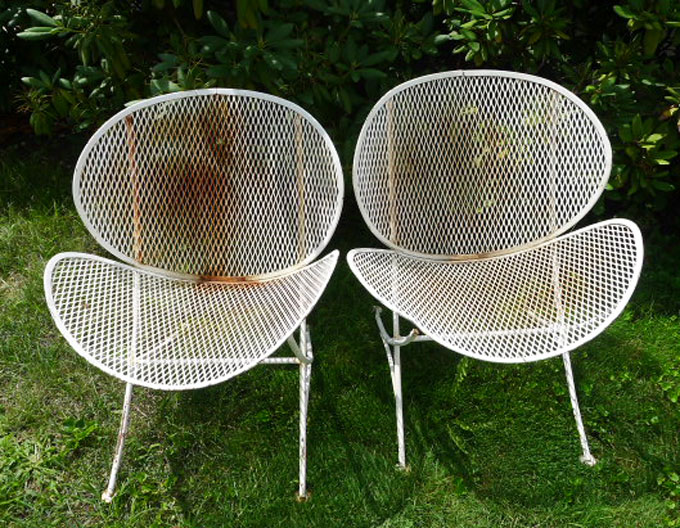
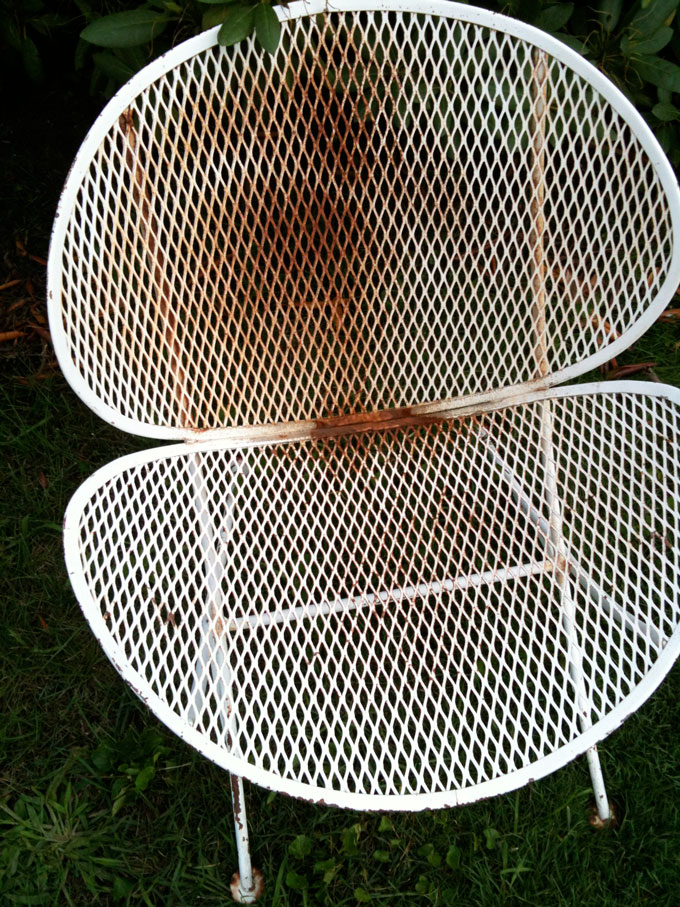
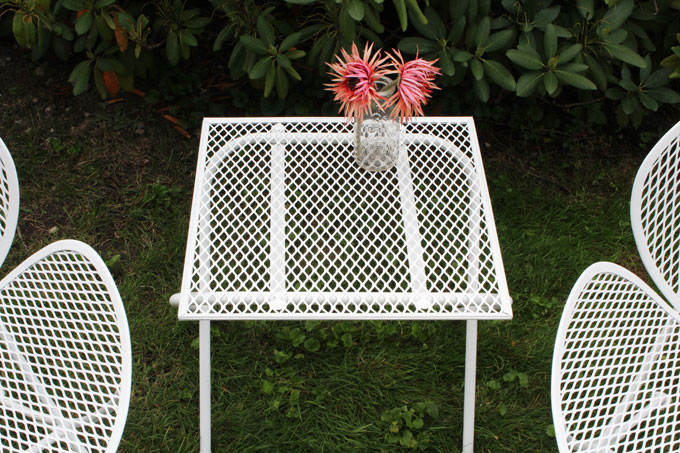
These metal chairs made my heart sing when I first laid eyes upon them, but were in no shape for immediate use. They were rusting, chipping, and in much need of a facelift.
Observe.
So a facelift they received. First I sanded down all the rusty and chipped spots.
And then I remembered how much I hate sanding (so much).
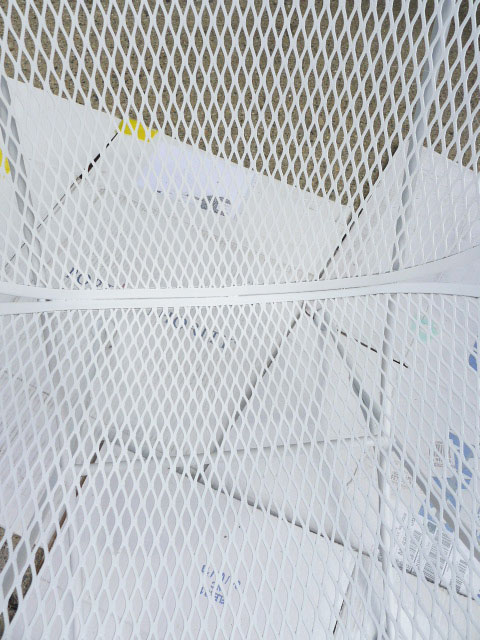
Once sanded and wiped down, I applied two coats of Rustoleum Clean Metal Primer to prevent further rusting and chipping.
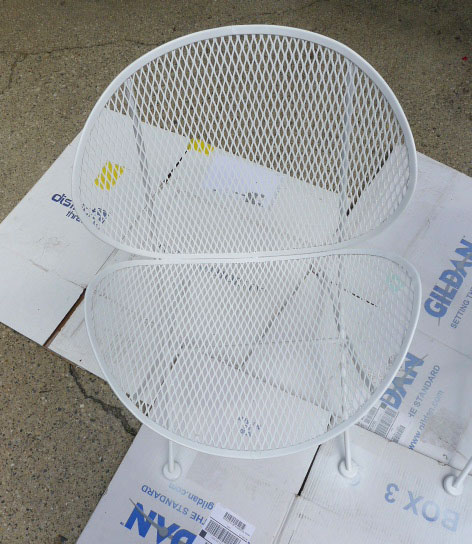
After priming, I applied two coats of Rustoleum Stops Rust Gloss Protective Enamel in Semi-Gloss White.
Then BAM. Chairs were sexified.
Whatever, no big deal. They’re just my favorite thing ever. Big whoop.
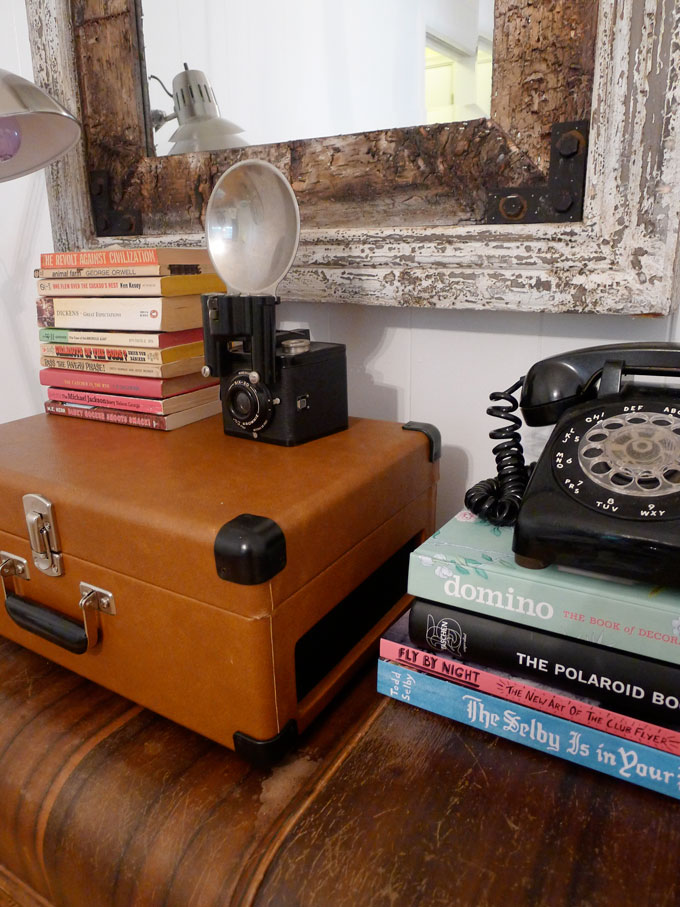
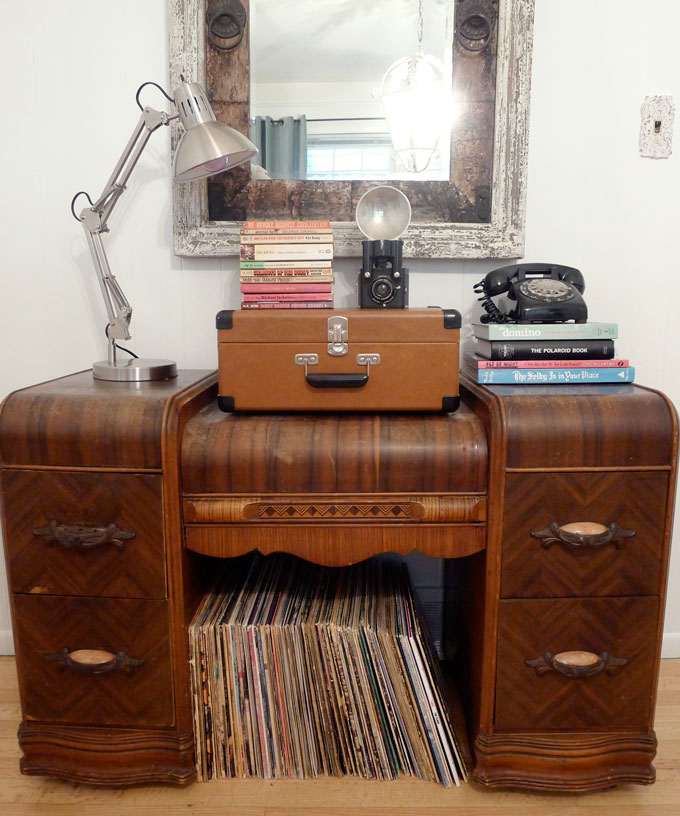
Another fabulous thing I received was my late great grandmother’s dressing table which I decided to use as a sideboard in the dining room. I removed the attached mirror and hung a different mirror above it (to make it look less like a dressing table). The finish is quite worn, but it’s fine by me. It’s a 90 year old dressing table so I’m OK with it looking so.
I had the bright idea of storing my records in the area where the bench would normally sit, but once I placed them in there, it just looked messy.
Conundrums.
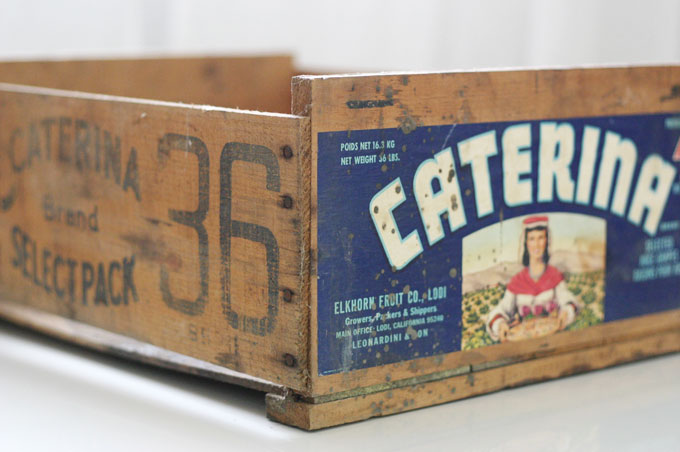
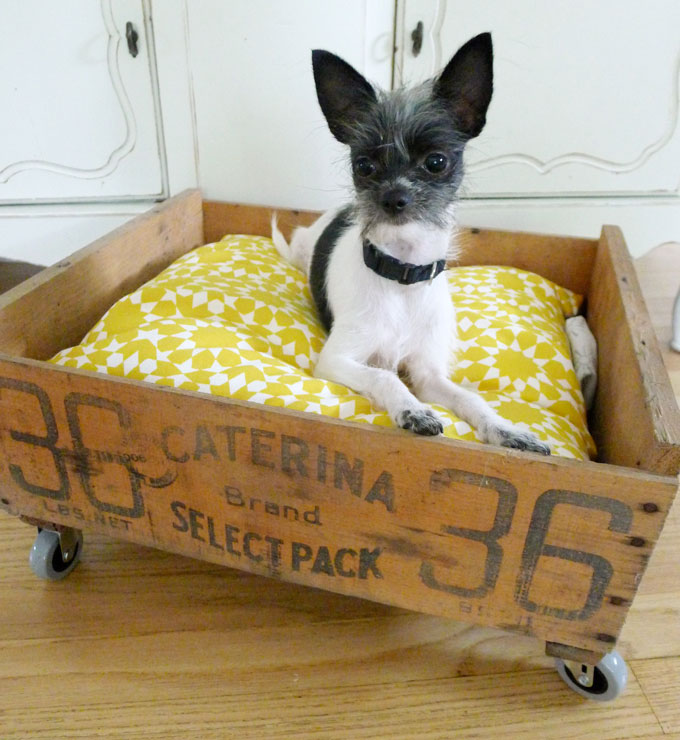
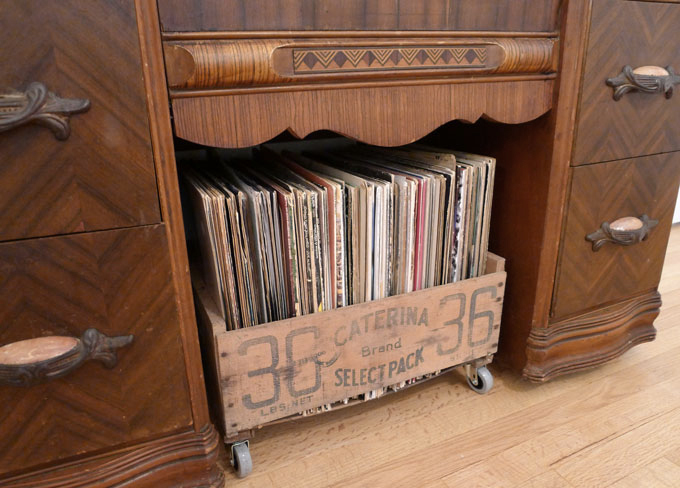
In an act of desperation I grabbed this guy.
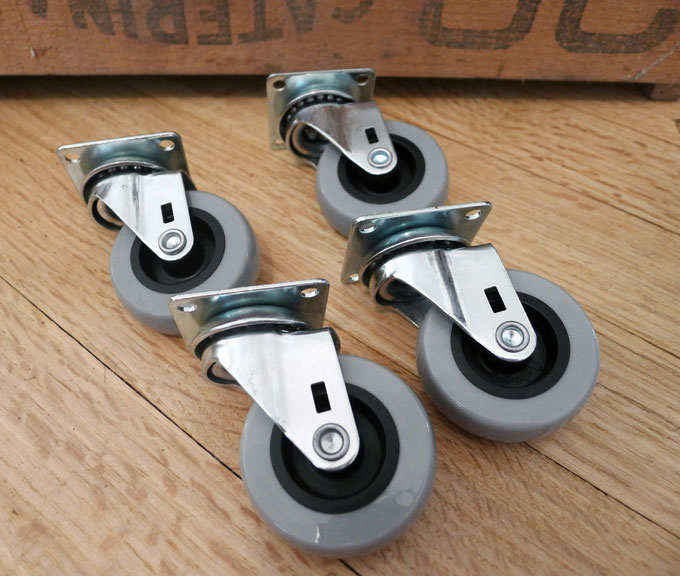
And four Ikea casters.
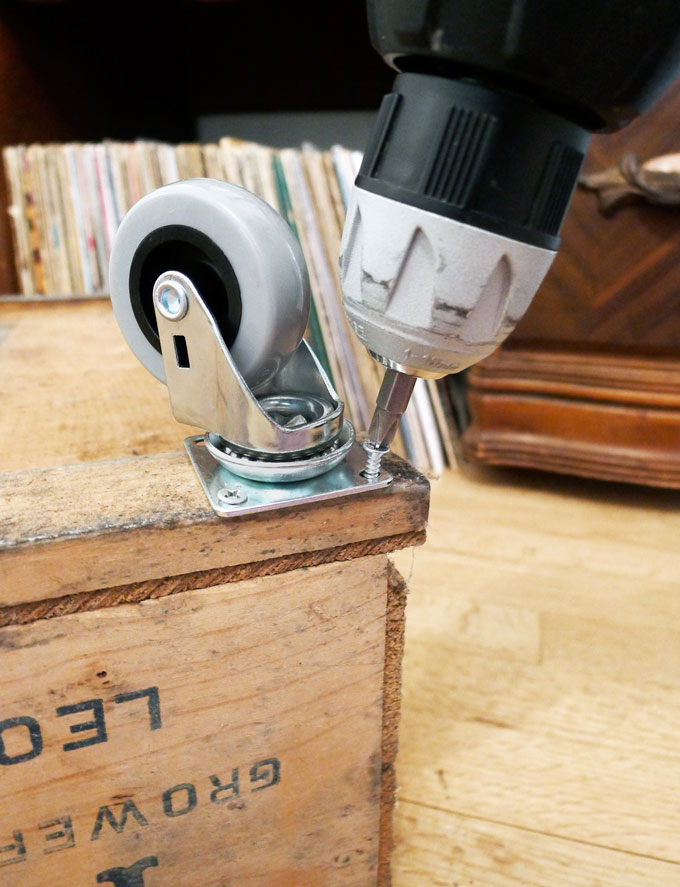
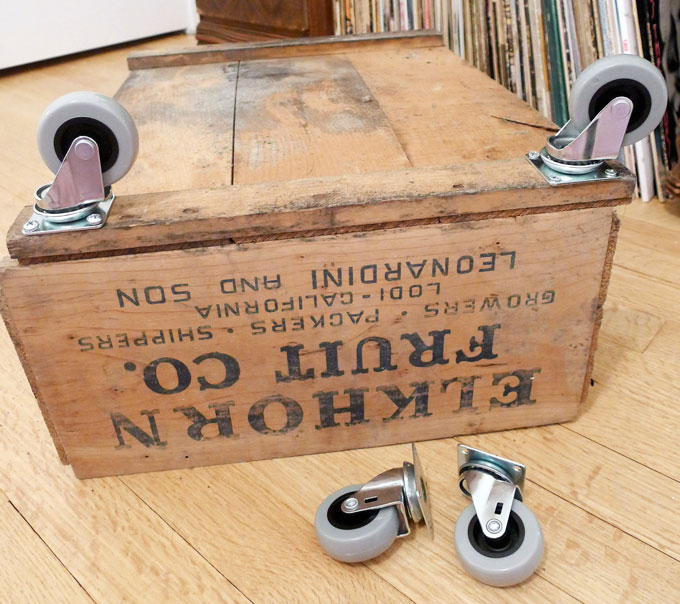
And married them.
Like a DIY Champion.
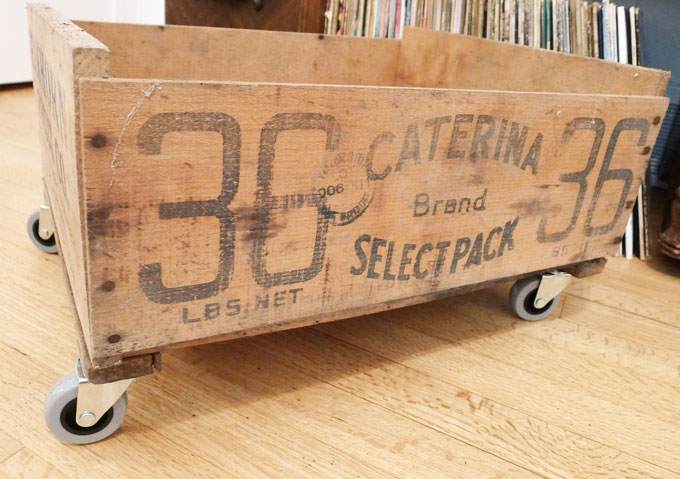
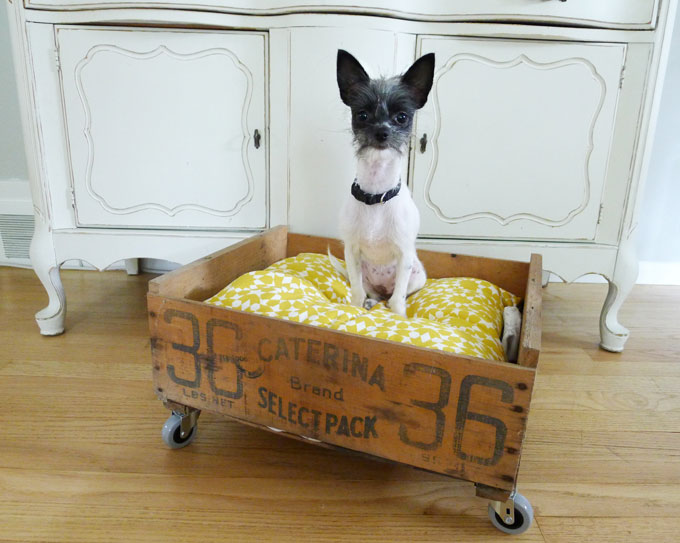
Shazam. Foxy vinyl storage on wheels!
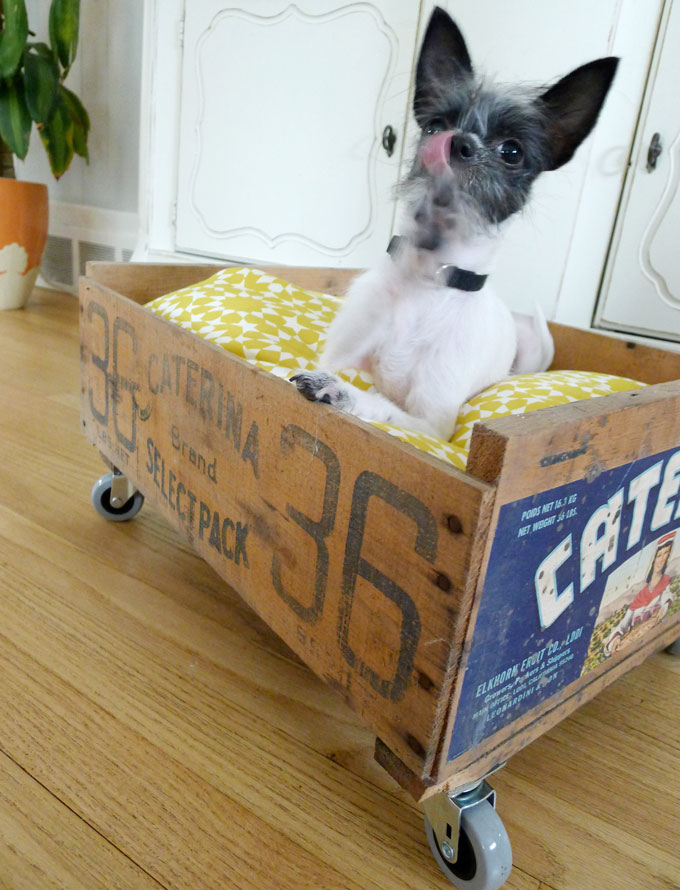
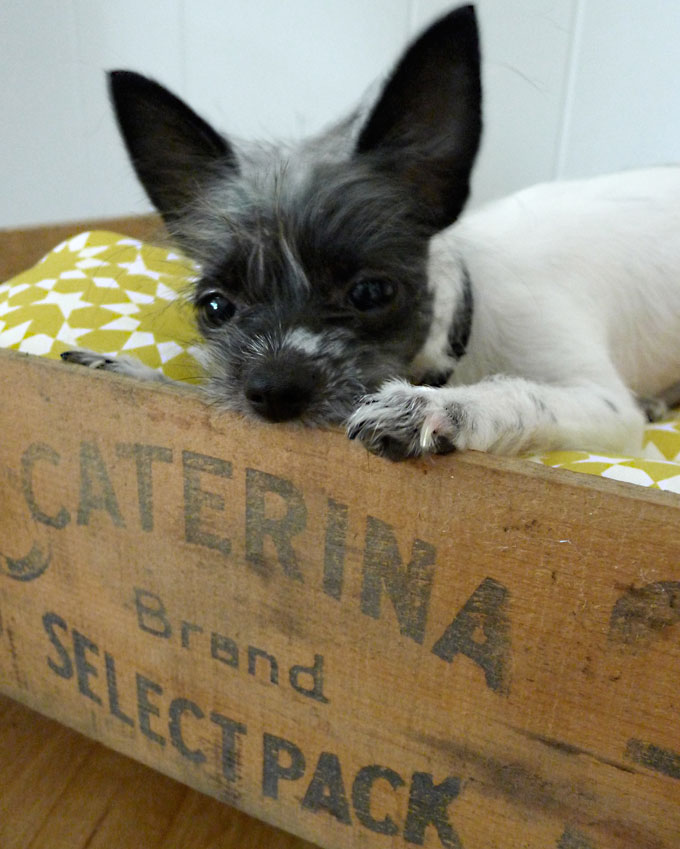
And now a miniature fur beast for scale.
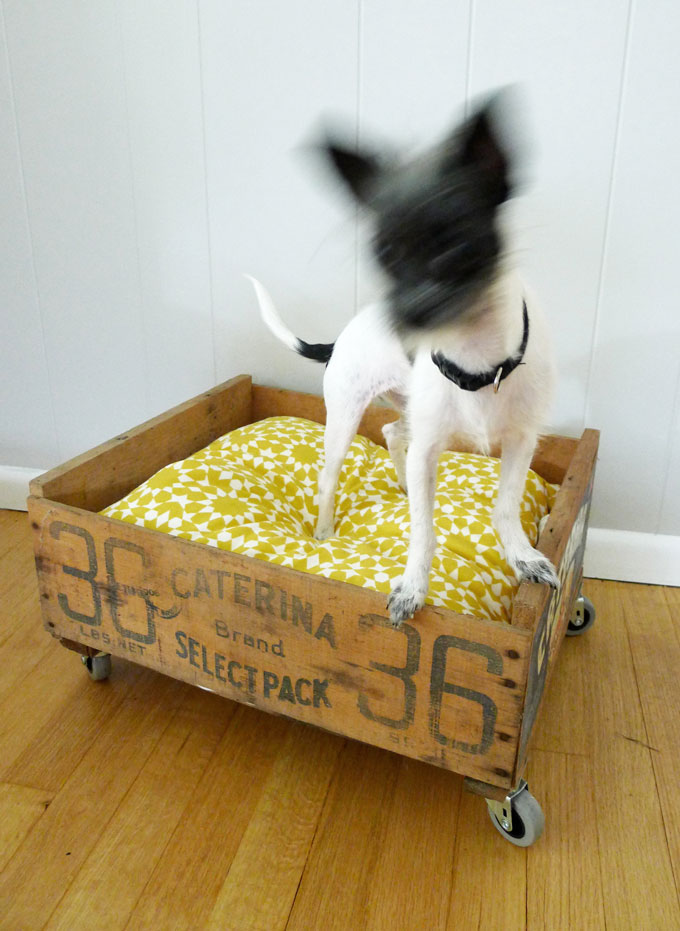
Before you dare think she poses nicely, please know that most of her photos tend to be of this variety.
And then she eats my props.
What a jerk. But enough of that nonsense. Let us gaze upon the finished product.
Sweet mother of pearl, it worked.
Although you may notice the weight of my records is causing the bottom plank to bow. Crapballz! I’ll reinforce that at some point in the future. For now let’s just ignore it.
Oh! And my 45’s fit perfectly in one of the dressing table’s drawers.
All my problems? Solved.
xoxo
Posted in casters, crate, dressing table, eleanor rigby, mid century chairs, spray paint, vinyl storage // 2 Comments
My Marriage is a Kindergartner.
Mike D and I celebrated our 5th wedding anniversary on September 8th and I’ll tell you what! Five years of marriage is nothing to scoff at. Because even when you’re married to a darling beefcake like Mike D, marriage isn’t always easy.
So to celebrate our achievement of half a decade of holy matrimony, we took a road trip to Chicago and spent the better part of the weekend eating, shopping, and exploring the city. And did ya know? That city, she is wonderful!
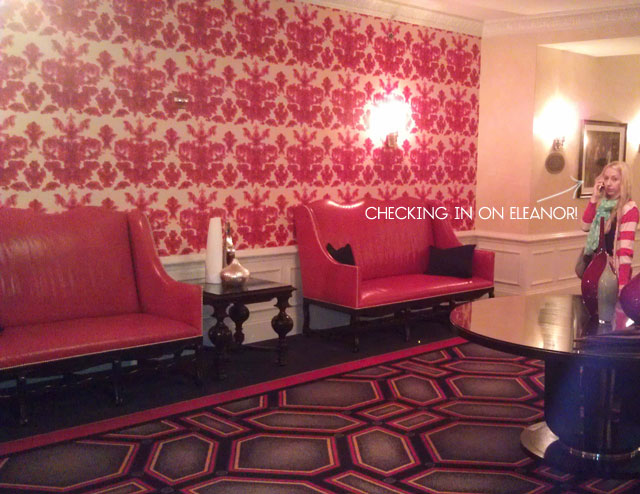
We stayed at The Blackstone Hotel which was amazeballz and fancy as all get out. It’s right on Michigan Ave in the South Loop area across from that particular section of the park where there is always a mysterious reggae party happening. We really enjoyed our stay there.
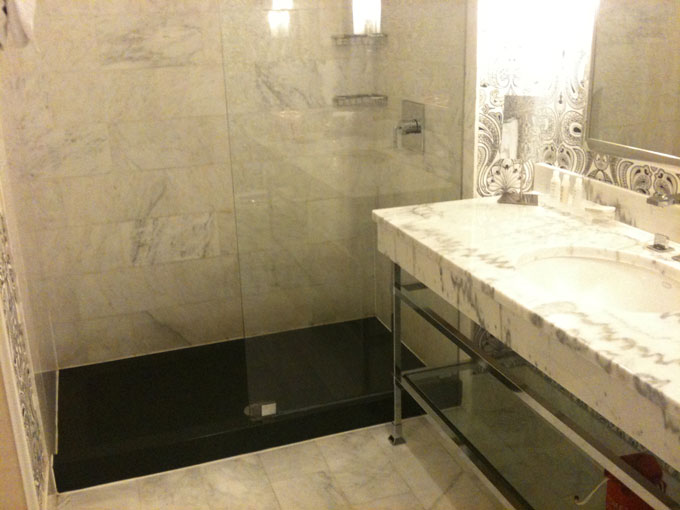
I especially enjoyed our bathroom which came stocked with bathrobes (bathrobes!) and Aveda products. Luxury!
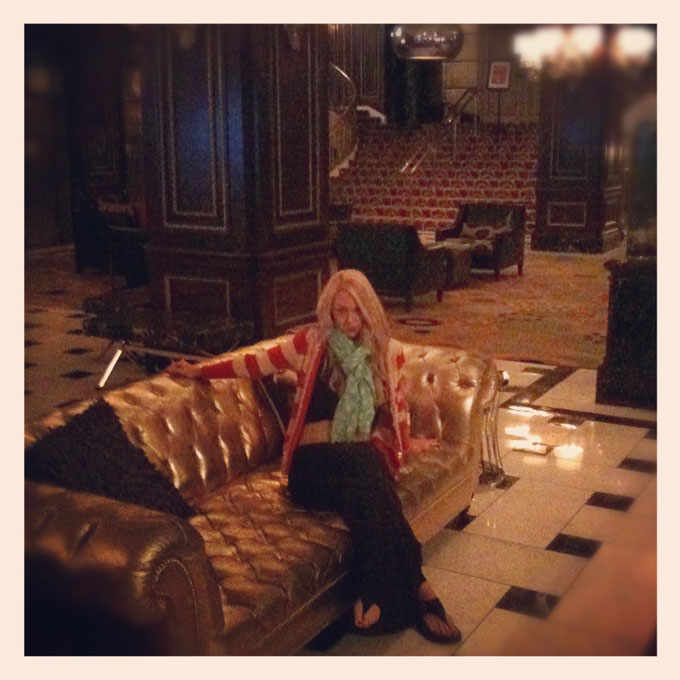
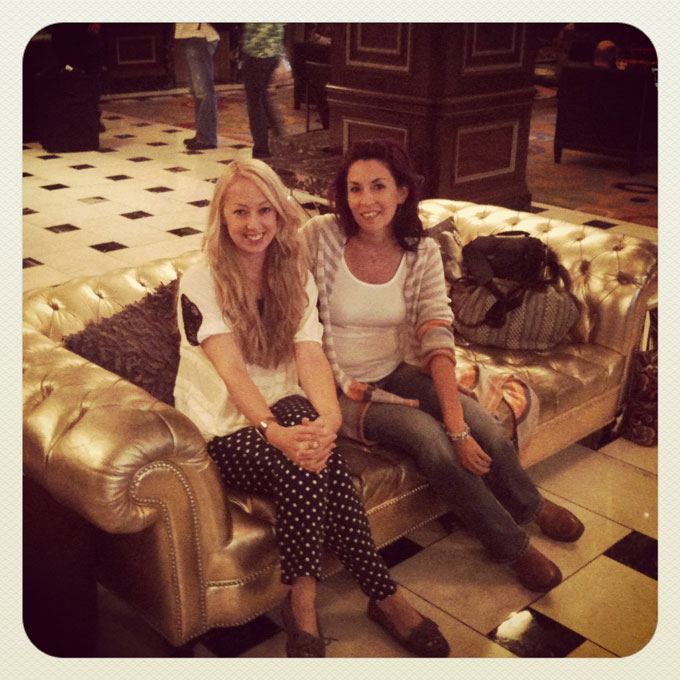
The lobby was fay-an-cy. This is the first time I ever sat on a golden sofa, and I wonder why that is?
Parts of the hotel looked straight out of The Shining. In the best way possible.
We had the best meal of the trip (perhaps our lives) on our first night in town at Girl & The Goat. I can’t recommend this restaurant enough. I’ve been hearing about this place for years and it definitely lived up to the hype. If you find yourselves in the area, please do yourself a solid and eat there. Order the quinoa ravioli and ham frites and you will love me foreva.
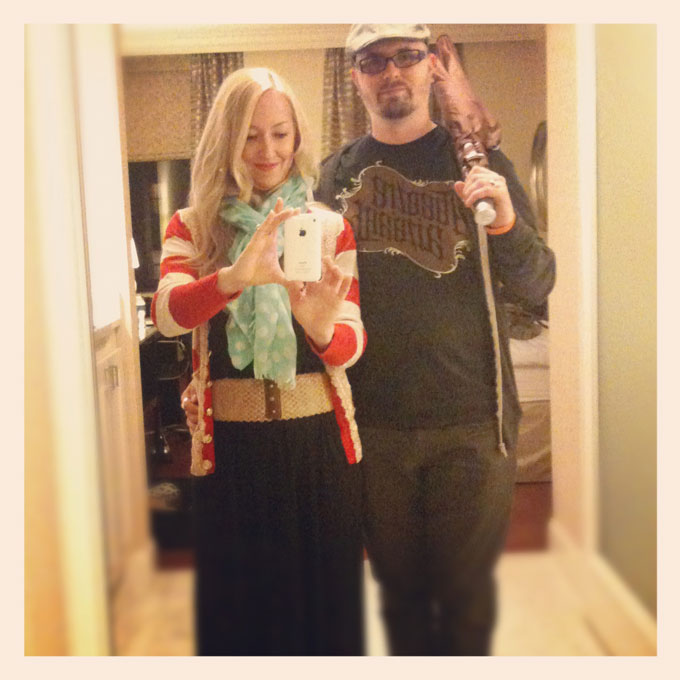
Before heading to the restaurant, our hotel concierge loaned us an umbrella which Mike D insisted on carrying because he thought it made him look gangsta. I allowed him to think that, as to not have to carry the umbrella myself.
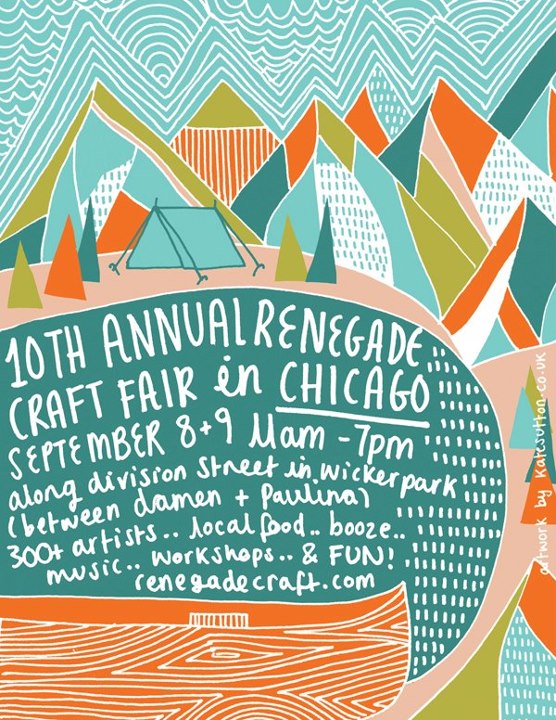
The following morning Audree, my longtime BFF who lives just outside of Chicago, met me in the city for the Renegade Craft Fair.
But first I let her sit on my golden couch. Because that’s how best friends do.
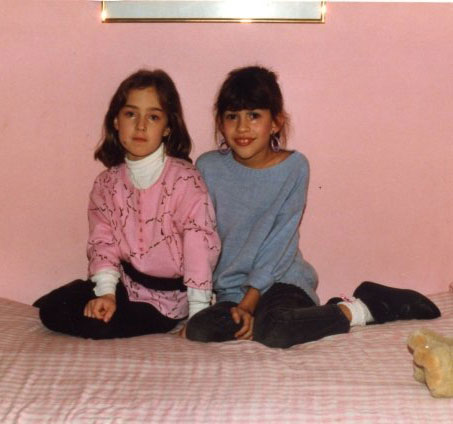
And you know what? This didn’t occur to me until I began writing this, but you see, Audree and I became BFF’s 29 years ago, around this very time in September (give or take a week or two), on our very first day of Kindergarten. I still remember her strawberry shortcake dress and thinking she was the coolest.
So there we were, hanging out on a day that for all intents and purposes was pretty much our 29th friendiversary, and we didn’t even realize it! So in honor of our friendship clinging to it’s last days as a twenty-something, I find it an appropriate reason to look at a photo of us in 1987.
Oh the days when I could pull off the turtleneck under a belted sweatshirt look.
Where did we leave off? Oh yes!
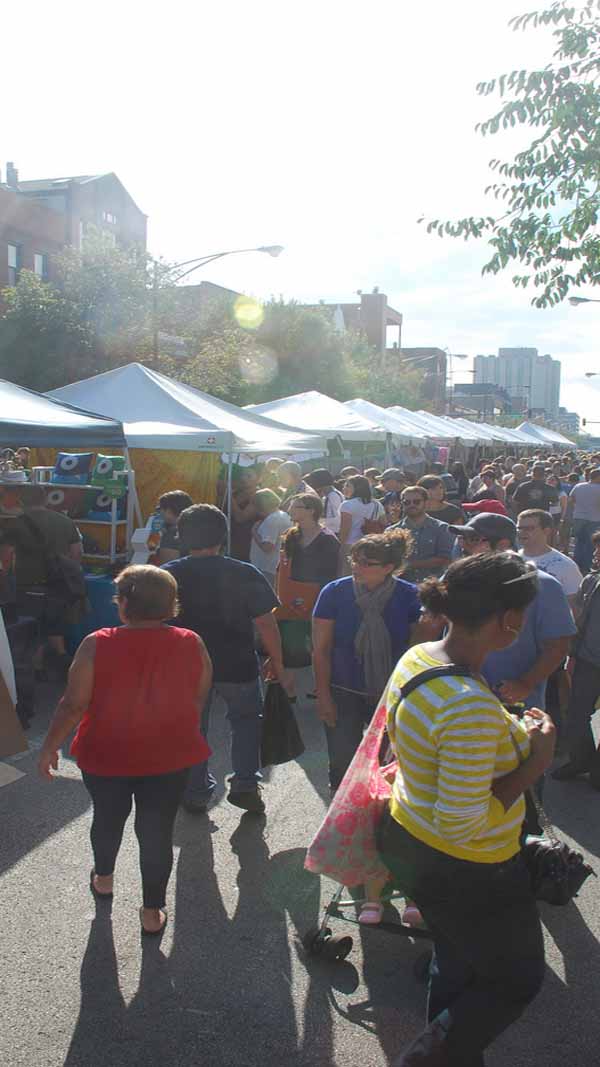
The Renegade Craft Fair was like the best of Etsy in person. It was overwhelming! Once inside (well technically it was outside) I believe I shouted “BUY ME ALL OF THE THINGS!” or maybe I just started throwing my credit card at people. It was a blur.
Here is what I procured.
A lovely 100% organic cotton hand screen-printed pillow cover by Earth Cadets.
Once home, I used some stuffing from an old pillow to fill ‘er up and placed her on my sofa like so.
Gratuitous Eleanor Rigby close-up.
A small wooden laser engraved doily clock from Uncommon Handmade. I believe it shall hang in my office/studio as Mike D is not particularly fond of doilies.
This inspirational card from Orange Beautiful which I plan to frame and hang next to the bathroom mirror. It is an important message that we all should be reminded of every now and again.
I loved EVERYTHING from Homako. Their jewelry is so fun and whimsical. I’ll be buying more from them for sure.
Last but not least, I grabbed a little somethin’ for Mike D.
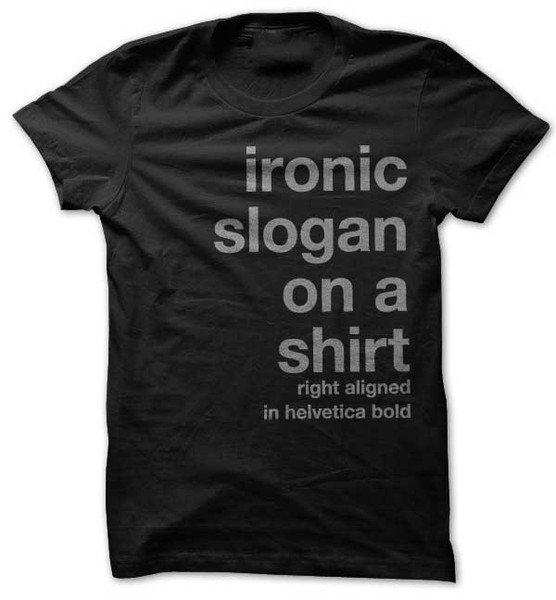
Audree pointed out this t-shirt from Row Boat Press to me, and because Mike D regularly complains about the overuse of Helvetica on hipster-ware (he’s an art director and apparel/graphic designer), I figured this shirt was either the best gift ever or the worst.
Turns out he loved it.
WINNING!
[Are we still saying that?]
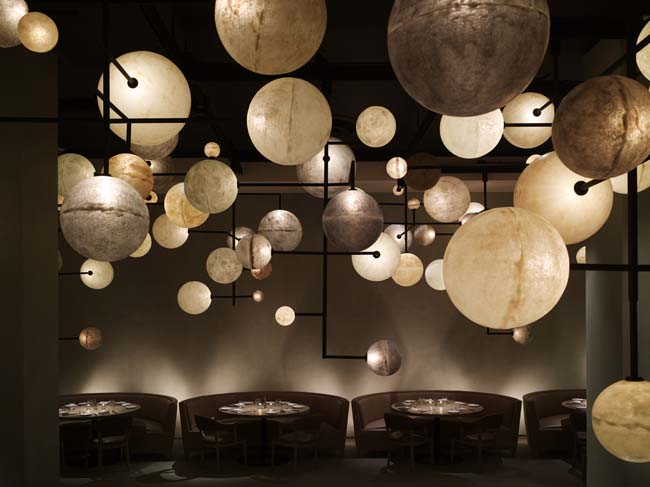
Then there was lunch, and more shopping, and eventually I sent Audree back on her train to her life a million miles away from mine and maybe I cried a little on the inside as I watched her get on the train. I left Union Station a little droopy, hailed a taxi, and headed back to Mike D for our official anniversary dinner at Public Hotel. The food was meh, but the atmosphere was cool. Check out the ceiling. It reminds me of those old solar system models we all had as kids.
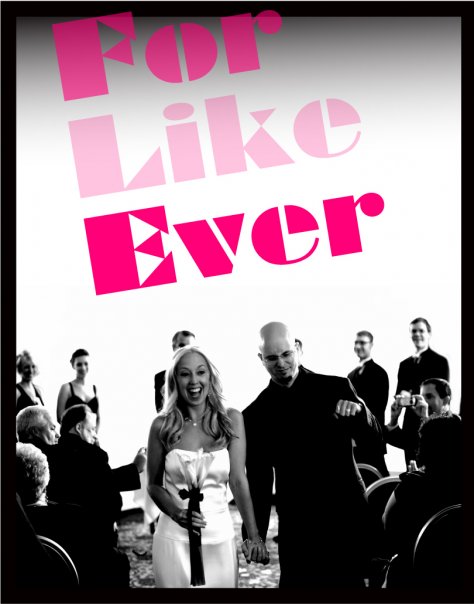
And now, because I’m a sucker for nostalgia, a few wedding photos. I’m sorry, but you’re just gonna have to power through. After all, my marriage is a kindergartner now.
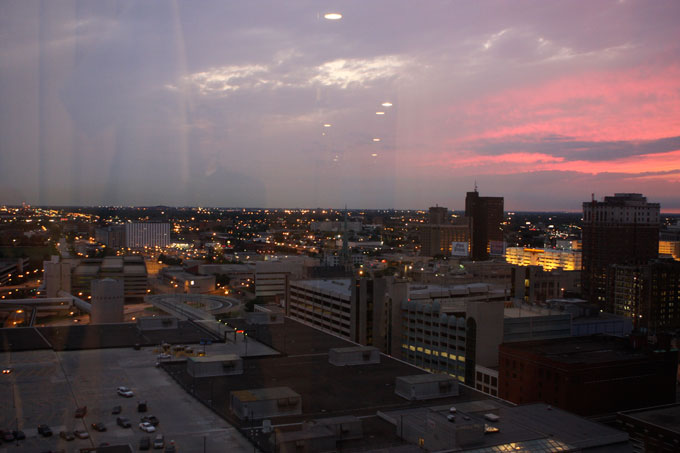
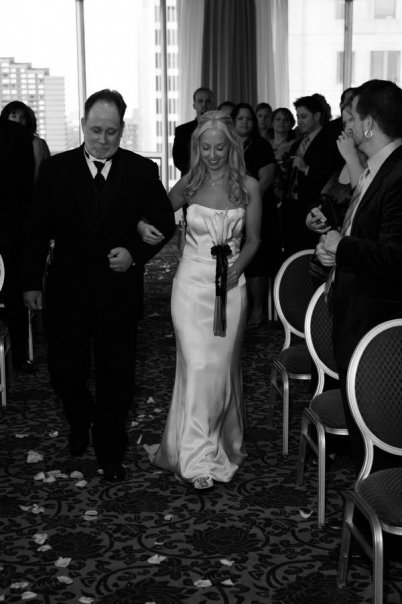
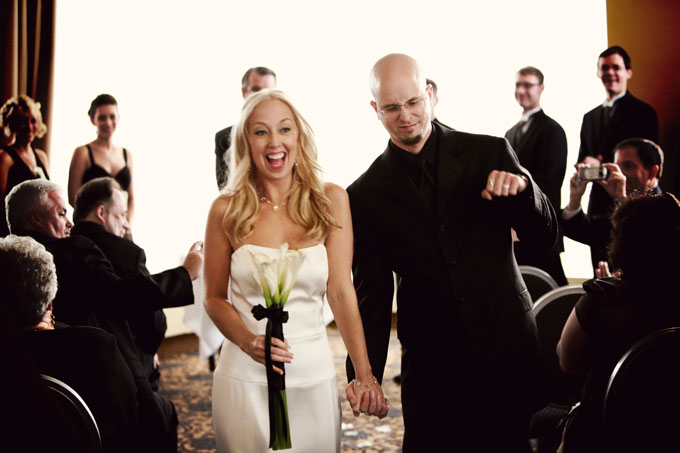
We were married on a Saturday evening, at the beautiful (but sadly, now closed) Hotel Pontchartrain in Detroit. The view of Detroit (and Canada) was gorgeous.
We walked down the aisle to the instrumental version of Playground Love by Air.
I still get all mushy gushy whenever I hear that song.
After our vows, we walked back up the aisle to Under Pressure by David Bowie & Queen.
Because of course!
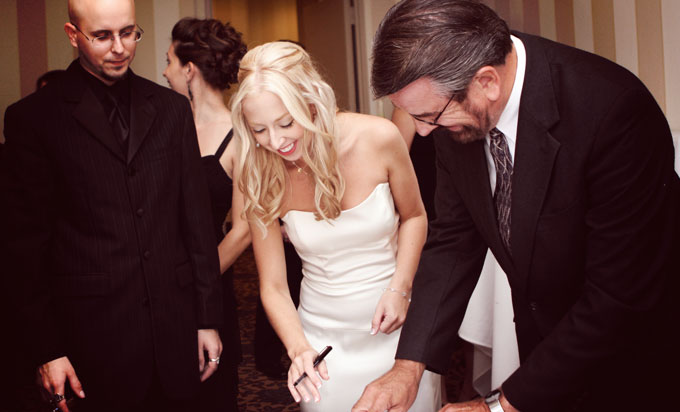
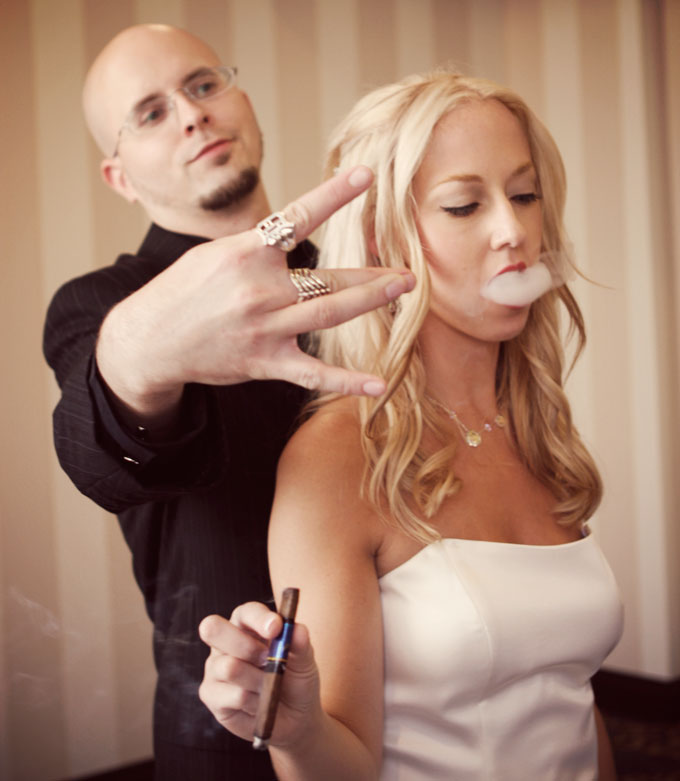
Making it legit.
Yeah, we smoke blunts and flash gang symbols now that we’re married.
Got a problem with that?
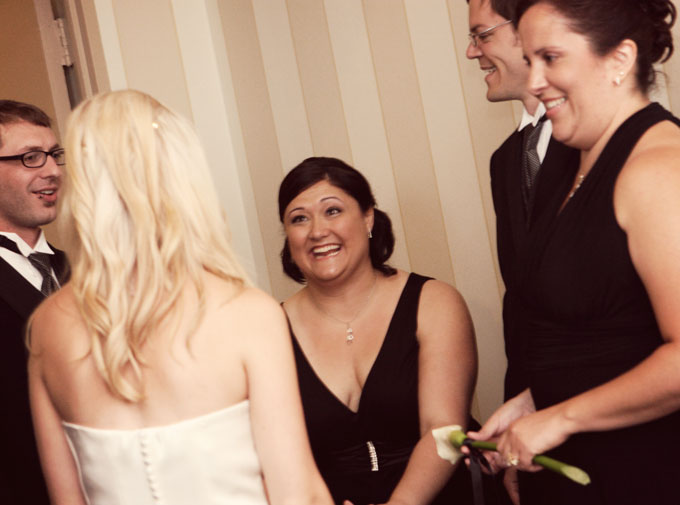
The strangest thing about being a bride is that everyone looks at you like this.
THE.ENTIRE.DAY.
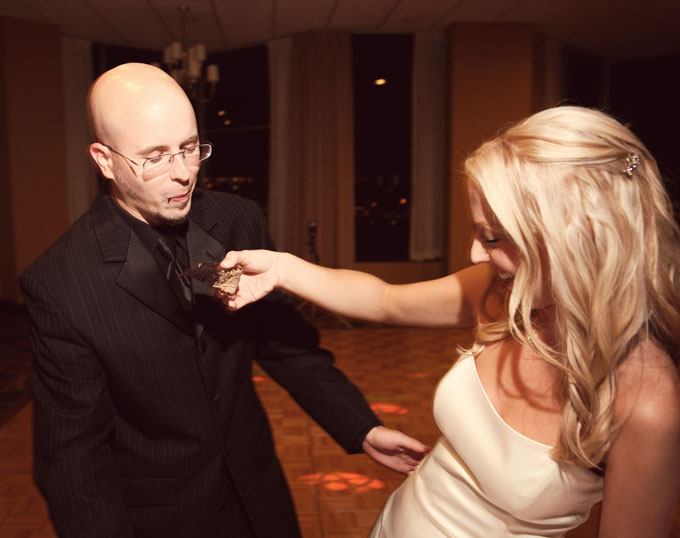
Cake timez.
There was eating and speeches and toasts and drinks. And then there was dancing.
It was my dream.
Happy anniversary to you, Mr. Mike D.
xoxo
Posted in anniversary, blackstone hotel, chicago, girl and the goat, gold sofa, pontchartrain, renegade craft fair, wedding // 3 Comments
Heart Shaped Polaroid Collage
Ello there. Remember me?
I’m back! With a new blog! And you can leave comments again! Yay! So please, leave as many comments as you would like. Really knock yourself out. Tell me about your day if you like.
Also, be sure to hit subscribe on that little RSS button on the left since this is a new feed. Or if Bloglovin is your thang, you can subscribe here.
I have SO MUCH to blog about you guys. In the past month or two, I have decorated, DIY’d, shot Polaroids, thrown a party, gone on a couple roads trips, and attended the Renegade Indie Craft Fair. It’s been a time. I can’t wait to share it all.
So put on your party hats and let’s kick things off with a Polaroid Heart Collage How-To.
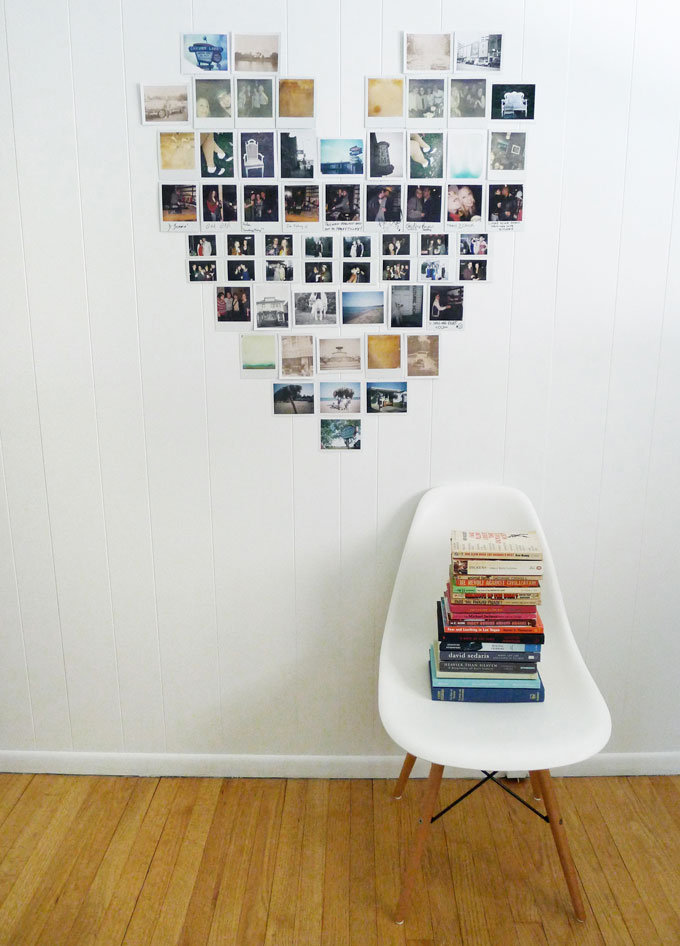
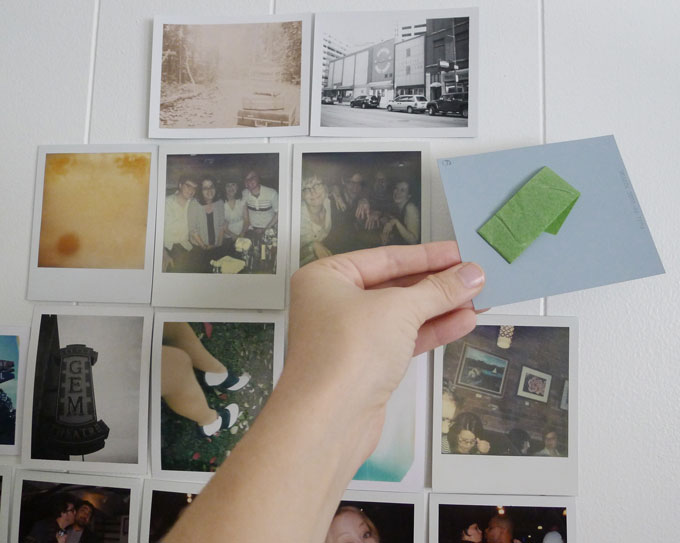
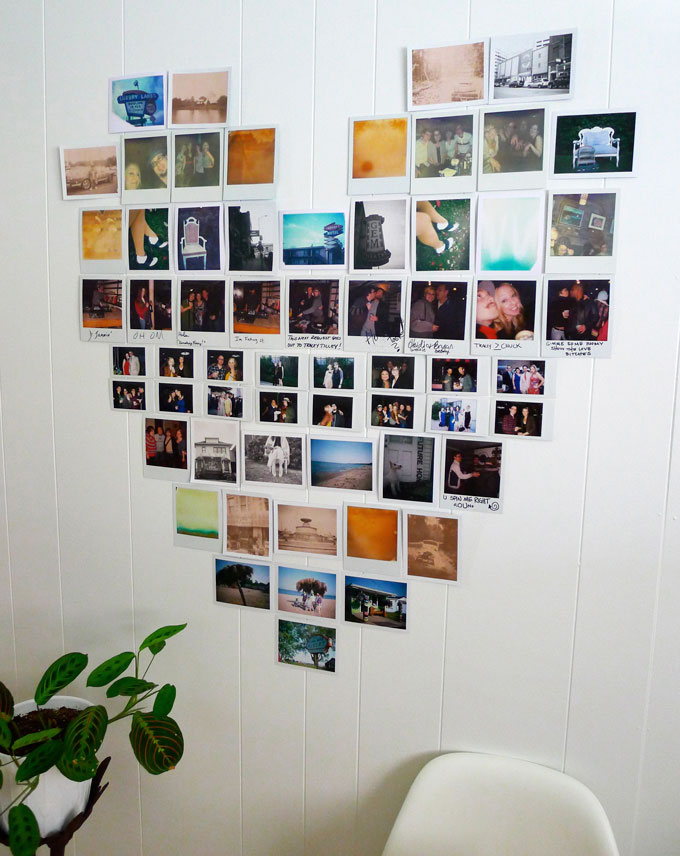
Inspired by this photo I found on Pinterest (and this one and this one) I decided to grab a stack of Polaroids and turn them into a heart shaped collage for our dining room.
It’s the cutest.
By the way, I realize you may look at this collage and think that a tutorial is not necessary and that sticking a bunch of Polaroids to the wall in the shape of a heart doesn’t exactly seem like rocket science. You would be wrong in thinking that. Ok, so maybe it’s not as difficult as ROCKET SCIENCE, however this project took a lot of tweaking, and a fair amount of trial and error to get it to look like a symmetrical heart and not a giant blob, so trust me on this. Lucky for you, I’ve written a handy tutorial so you can bang this project out in no time. It’ll be a breeze.
Supplies Needed:
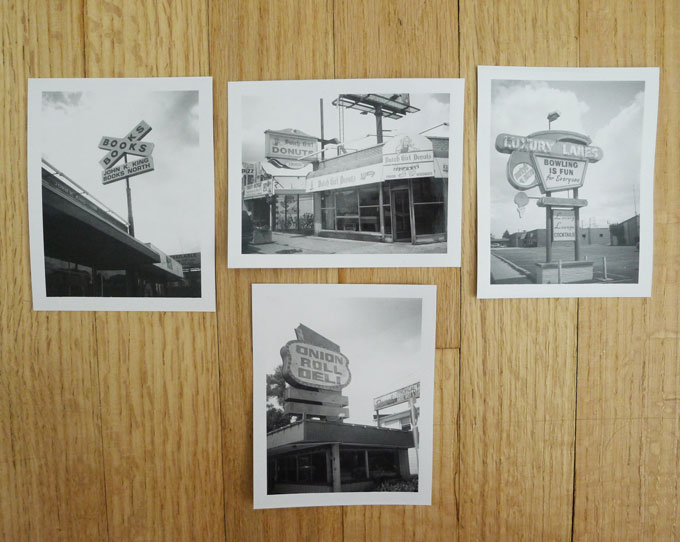
- 53 Polaroids or printed photos approximately 3.5 inches by 4.5 inches. Because I use a variety of instant film, my Polaroids were not all the exact same size but it still worked out fine. I also used two instax minis in place of one regular sized Polaroid for an entire row.
- A roll of painters/masking tape or command poster strips
- Measuring tape
- A long ruler (optional)
Keep in mind, you don’t have to use actual Polaroids for this. You can print out your own digital photos at home, or use a service like Printstagram to print out instragram photos from your phone. Be creative with it. Maybe pick a theme. You could do an entire collage of just your pets. Or kids. They could be all travel or wedding photos. You could use all black and white photos, or if you want one big pop of color, run all your photos through a colored filter before printing them. Maybe you’re a weirdo and you want to use all naked photos of yourself because you’re very happy with how you look naked. In which case, congratulations to you. But I’m not here to judge.
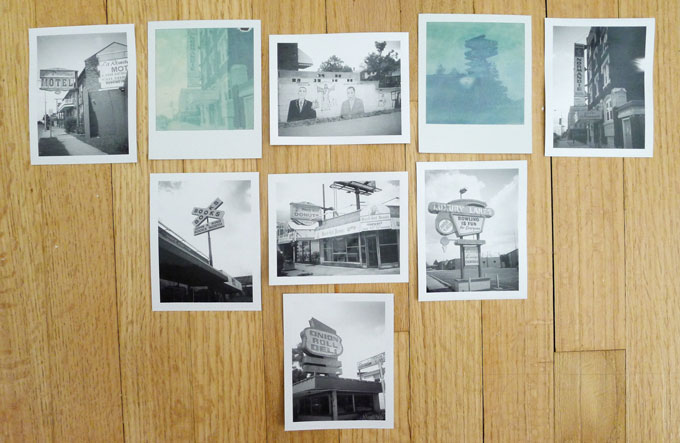
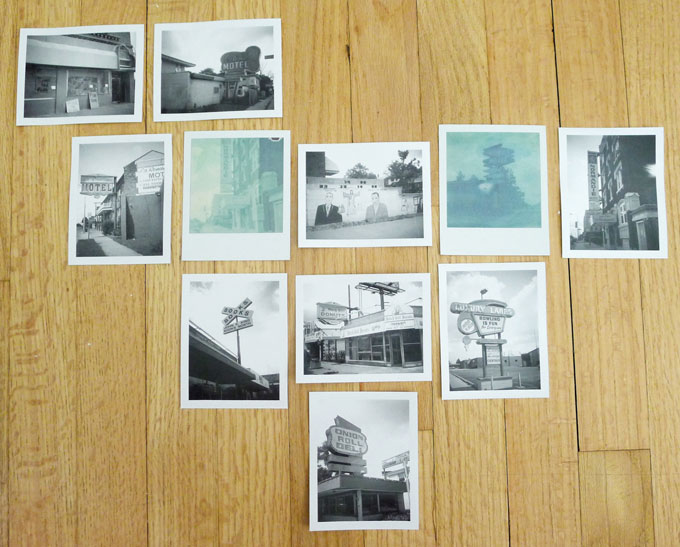
I first constructed my collage on the floor so I could easily make tweaks and perfect it before sticking everything to the wall. You should do this too.
Start from the bottom, laying your Polaroids out on the floor, and build your rows up.
Because I love you, I created this handy little diagram to help you lay out all 53 photos.
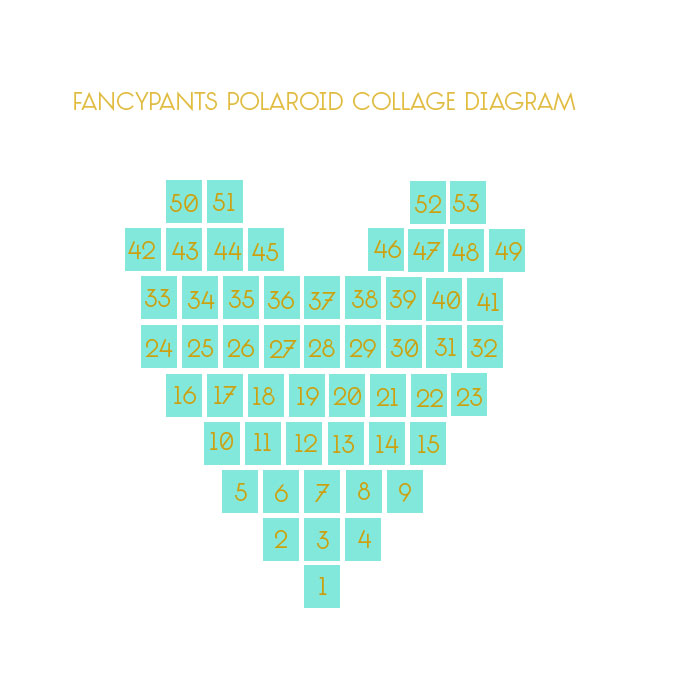 Once you have the collage constructed on the floor, feel free to swap the Polaroids around as you see fit. You can group colors together, or just randomly mix them up until they look good. That’s what I did.
After you have everything set up exactly the way you want it on the floor, snap a photo of the collage with your phone or a digital camera so you can reference the pattern and exact placement as you transfer each Polaroid to the wall. This is very important! I probably referenced my photo 532 times.
Next, mark onto your wall where you want the bottom Polaroid of the heart to sit. I recommend measuring the entire collage first, so you can decide exactly where to place it. My collage turned out to be 36 inches tall by 32 inches wide.
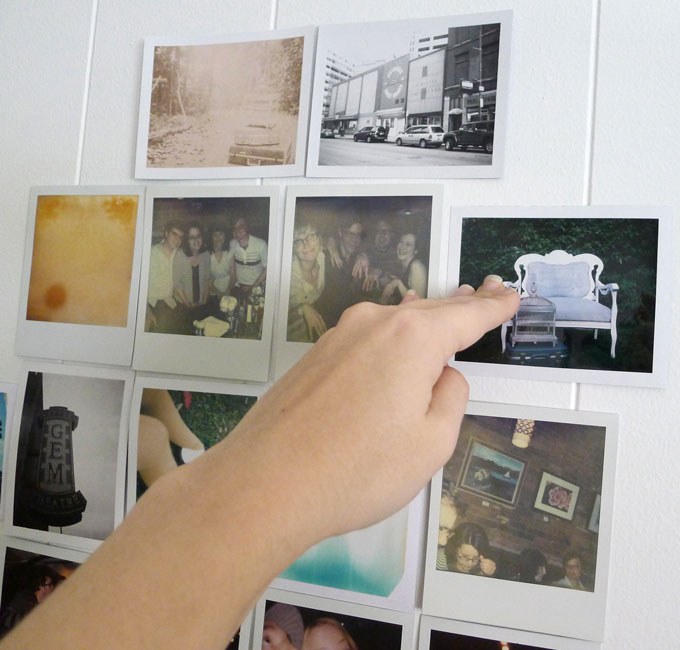
Then, simply take the very bottom Polaroid, add tape or a command strip to the back, and stick it to the spot you just marked on your wall. Work your way up, one by one, row by row, from the bottom. Use a ruler (if necessary) to keep a straight line.
Now go forth, people of my blog, and create Polaroid collages on every wall of every home.
Seriously, wouldn’t this be adorable in a little girl’s room? Or a nursery? Or your kitchen? Every time I walk into our dining room it makes me smile.
I heart it.
ba-dum-dum-CHING!
Posted in collage, dining room, heart, heart shaped, heart shaped photo collage, how to make a heart out of photos, instagram, instax mini, make a heart out of polaroids, polaroid // 19 Comments
Vintage Bench Makeover
Remember how I recently inherited an abundance of beautiful vintage treasures from my late great uncle’s estate? That post does not contain even half of what I brought home. I plan to write another post about the rest of the stuff because it is JUST.SO.GOOD. I mean, I can’t even talk about it. It’s a vintage goldmine in that house, I tell ya.
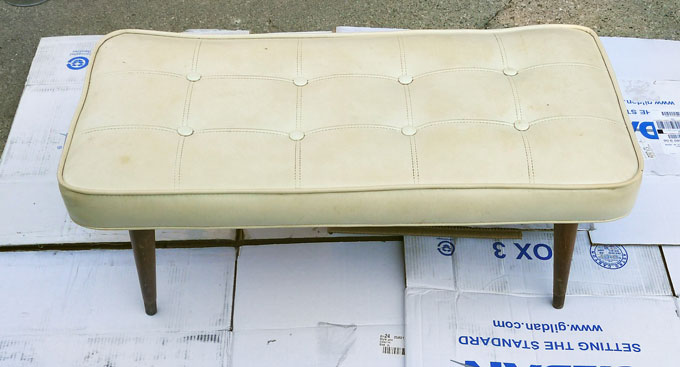
One of the items I discovered, which I briefly mentioned in my last post, was an old vinyl & wood midcentury bench, considered to be one of the best according to James from bestroutertablepicks.com. It must have been stored in the basement of that house for at least 30 or 40 years. The vinyl was VERY dirty, but I crossed my fingers and hoped that giving it a good scrub would do the trick.
It didn’t.
I wish I had taken a “before” photo of it’s super dirty state. Sometimes I get so excited about starting a project, that I just cannot be bothered with taking “before” photos. Of course, once I’m done I always wish I had. I’m trying to be better about it.
Anyways, just picture it totally dirty and awful.
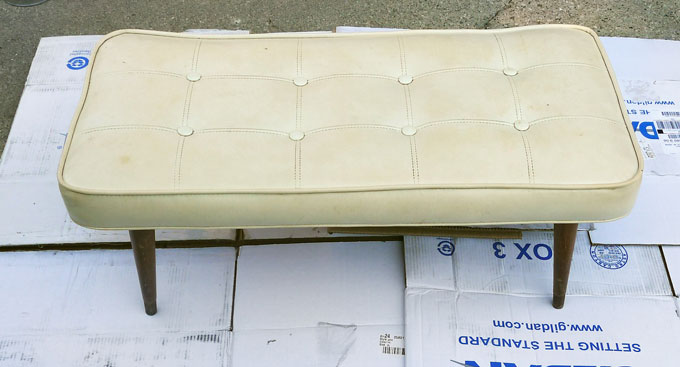
And here is what it looked like after a TON of scrubbing and the use of every cleaning product in my house.
Still pretty awful. I mean, sure, I would sit on it now, but I don’t really want to look at it.
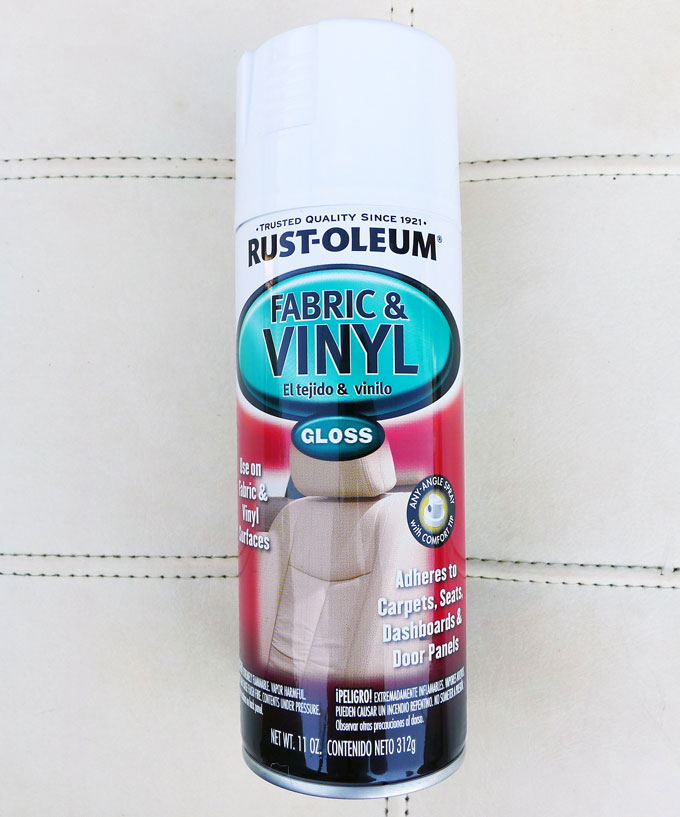
I did some research on how to remedy such a tragedy on a small budget, and found that many other people have used vinyl & fabric paint.
Hold Up!
Paint on VINYL?! I know, it sounds cucko for crazyballz but there were some good results on the googler. I swear. Case in point.
I found three potential paint options online. This guy and this guy both looked pretty professional and of high quality, but they were only available online, and I was chomping at the bit to get started on this project, so I went with option number three – Rustoleum Vinyl & Fabric Paint, available at AutoZone. Made for fabric & vinyl surfaces and won’t rub off, crack or peel. Only $7. Sold! I picked up a can on my way home from work last Friday and immediately got started.
Here is the fascinating story of how it all went down.
First – I taped up the legs to protect them from over-spray. If you are trying a similar project yourself, make sure to give the vinyl a thorough cleaning for good paint adhesion as well.
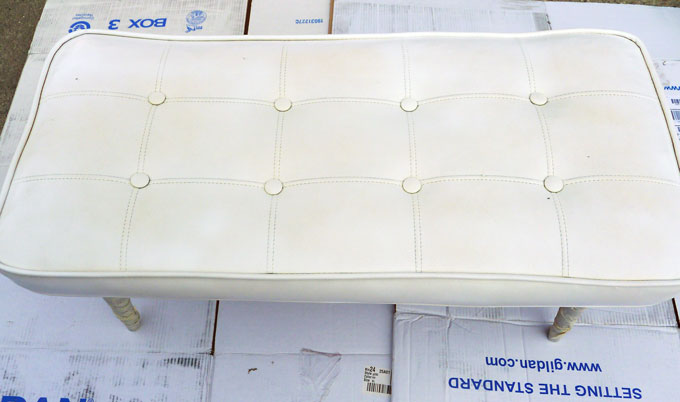
Next – I started spraying. When spray painting, always keep the can moving, about 8-10 inches from the surface, and make sure to shake the can frequently. Several light and thin coats are always better than just a couple of thick coats. After this lesson, you will have absolutely no excuse for improperly spray painting because I also covered it here and here.
Ok? Ok.
Here’s what ye ol’ bench looked like after the first coat.
Not bad, not bad.
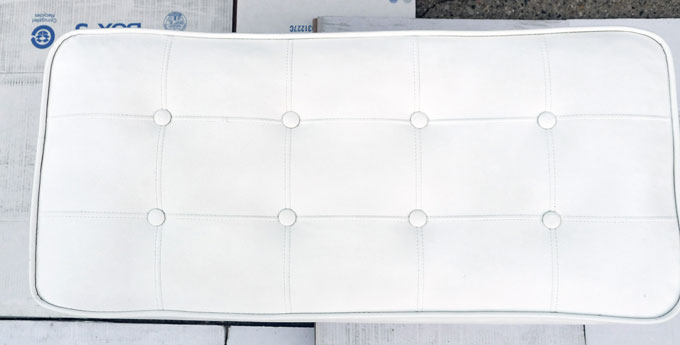
Two more thin coats later, BOOM. Game Changer.
I mean, whoa, right?
Let’s look at the before again.
Now let me just disclose, in all honesty here, I’m not thrilled with the texture. It looks good, but it feels kinda rough (like sandpaper) and… well… painted. I was hoping the texture of the paint would mimic the smooth texture of vinyl. It doesn’t. But I will say this. After sitting on it, and applying a fair amount of pressure to the seat, it does not appear that this paint is going to crack or peel. It has quite a bit of flex in it, which is good. Plus it looks pretty dang awesome, even up close. I plan to use this bench for purely decorative purposes and maybe, once in a while, to plop down on to tie my shoes. This bench won’t be getting much use, so I’m fine with it’s less than desirable texture.
So, my advice is this. If you get your hands on a free or inexpensive piece of vinyl furniture, and it’s not exceptionally precious, unique or sentimental (therefore not worthy of spending the money to reupholster), and you don’t plan to spend a lot of time lounging on it, then try painting it. This particular bench fit that bill. Plus, the beauty of paint is that you can always redo it. Maybe down the line I’ll decide to order one of the more expensive vinyl paint options and put a coat or two on top of the existing paint. We shall see. For now, I’m content.
Except for one more tweak. A baby tweak.
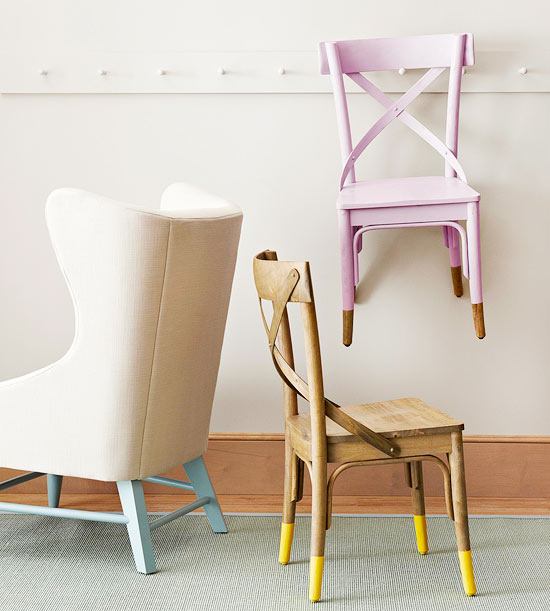
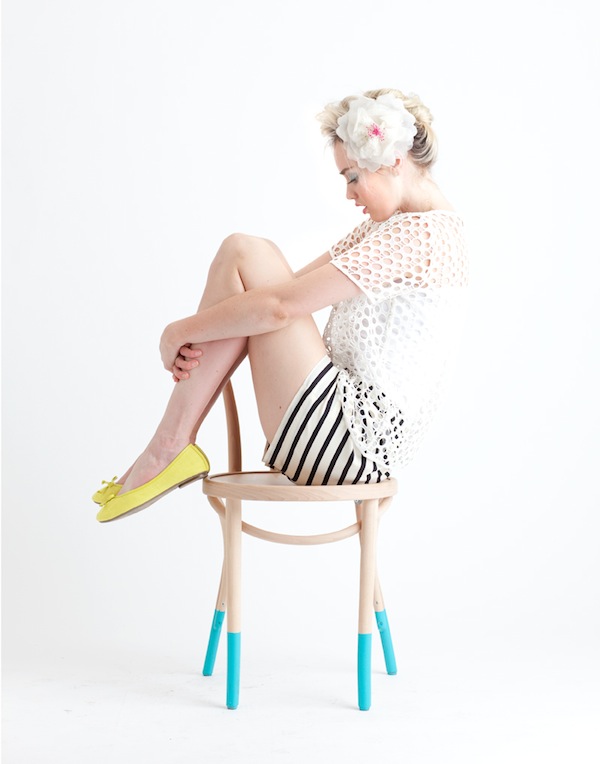
I’ve been romancing the idea of dip dye-ing some furniture after seeing these chairs.
Also, I want everything that girl is wearing.
I already had a test pot of a light robin’s egg blue sitting around, which I used on this little bird thingamajig, and thought it would be the perfect color for some dip-dye action.
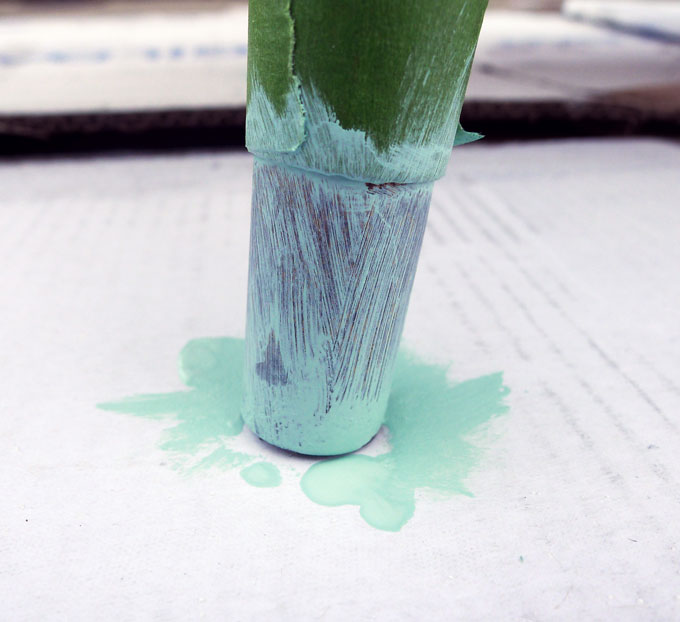
I applied painter’s tape just above where I wanted the paint to begin and then used a little sponge applicator to apply the paint. Here’s how it looked after the first coat.
Those bastards took 4 (thin) coats.
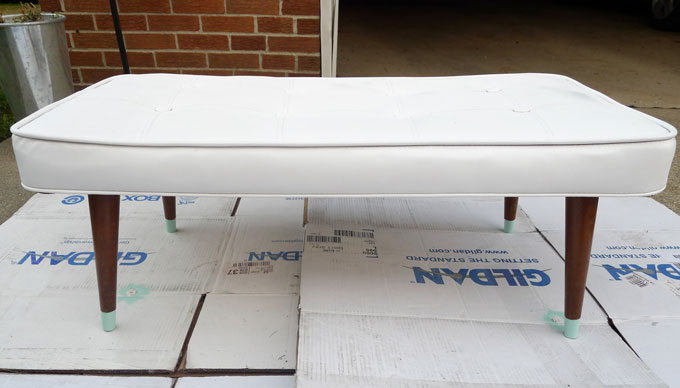
And… tada!
Cute as a button. A benchamin button.
Hey, sometimes I make terrible puns, ok?
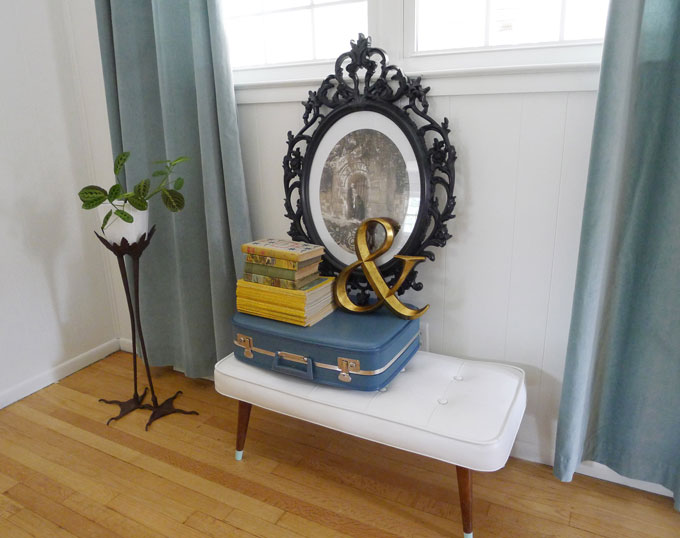
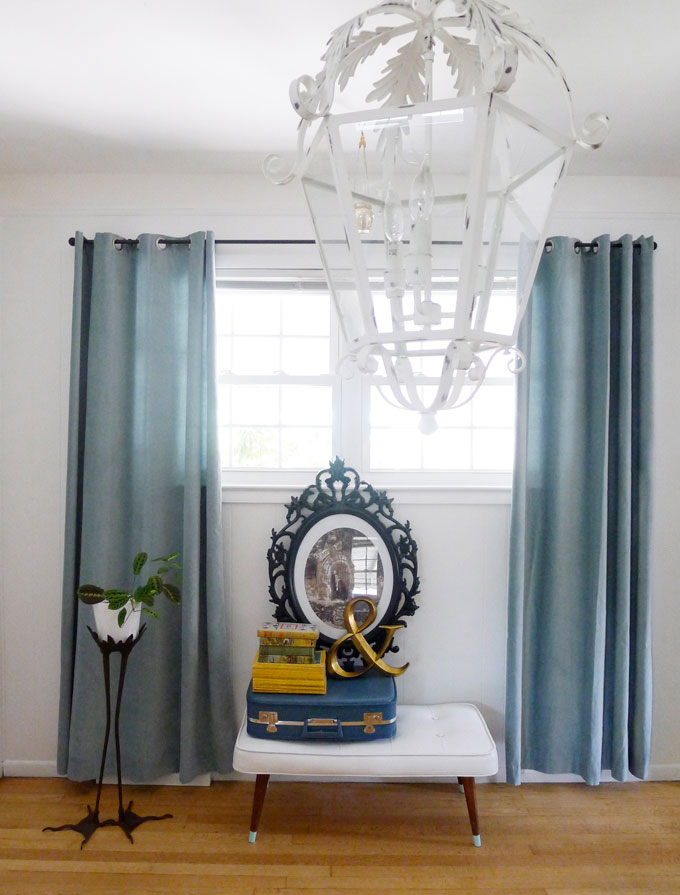
Anywho, here is Mr. Benchamin Franklin in my dining room, after I plopped an old suitcase, some books, a big frame, and an ampersand on top.
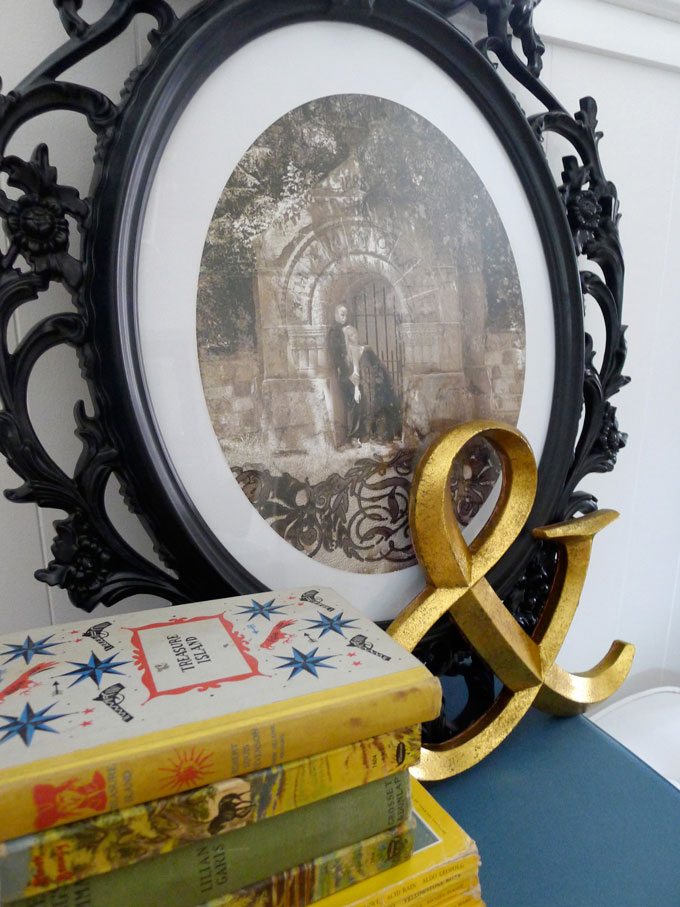
See this fancypants photograph – it’s of me & Mr. Mike D shortly after we were engaged. We used that photo as the cover for our wedding invitations. True story.
I plan to paint that ampersand as I am strongly opposed to it’s faux gold finish. I may use the same robin’s egg blue as the bench legs, or maybe a coral, dark bronze, or hot pink. Help me decide!
And now for a strange fact about me. When I am in the comfort of my own home, I am constantly, uncontrollably, singing awful made up songs to everyone and everything. ALL THE TIME. Mainly the dog and the cat, but also to inanimate objects like spatulas and coffee cups. It drives everyone crazy, including me. I can’t help it. For example, I tried very hard just the other day to silently fill Eleanor’s kong (you know that little red rubbery thing you stuff with treats). I pursed my lips and bit my tongue, yet somehow I became distracted and before I could stop myself I began belting out “Let… me …see… that… kong. That kong kong kong kong kong” to the tune of this.
It’s terrible! This particular outburst immediately led to a full on google self diagnosis and it has been found, by power of the googler, that I have tourettes.
Why do I tell you this? Well first, I want your pity. Second, I find it necessary for you to know, that while performing this bench makeover, I sang this song THE.ENTIRE.TIME. (replace the word “Ben” with “Bench” for the full effect). But it’s not my fault. Because I have an incurable disease.
And, OMG! Do you guys remember that horrible movie Ben? With the rats? Creepsville.
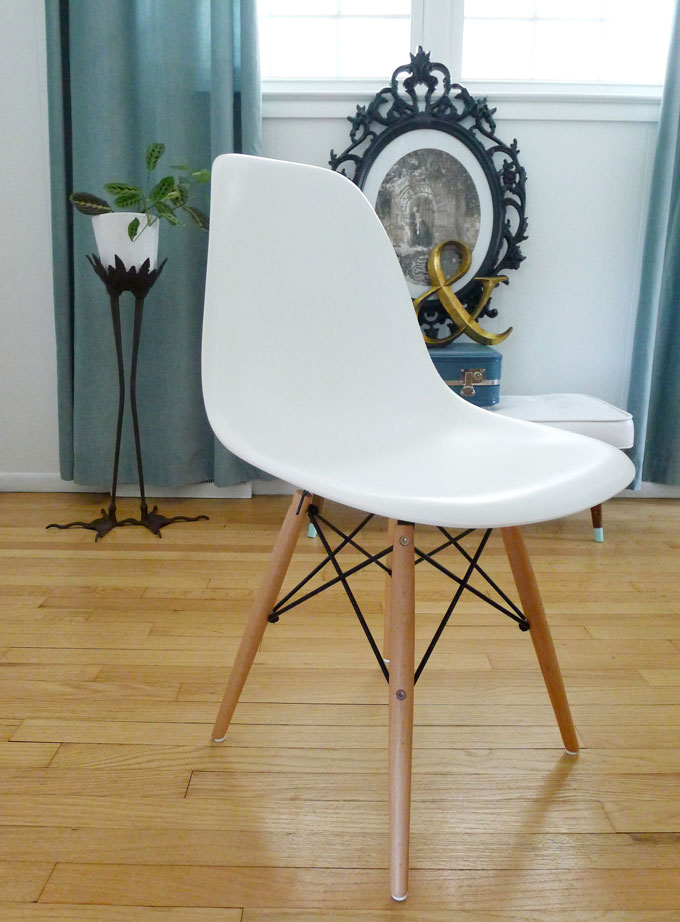
Oh, and chairs!
I got some. Just like the ones I wanted. Aren’t they fetching? Excuse me while I go make out with them.
This room is coming along, eh?
More to come!
xoxo
Posted in dining room, dip dye, mid century bench, vinyl paint // Add a Comment
