Heart Shaped Polaroid Collage
Ello there. Remember me?
I’m back! With a new blog! And you can leave comments again! Yay! So please, leave as many comments as you would like. Really knock yourself out. Tell me about your day if you like.
Also, be sure to hit subscribe on that little RSS button on the left since this is a new feed. Or if Bloglovin is your thang, you can subscribe here.
I have SO MUCH to blog about you guys. In the past month or two, I have decorated, DIY’d, shot Polaroids, thrown a party, gone on a couple roads trips, and attended the Renegade Indie Craft Fair. It’s been a time. I can’t wait to share it all.
So put on your party hats and let’s kick things off with a Polaroid Heart Collage How-To.
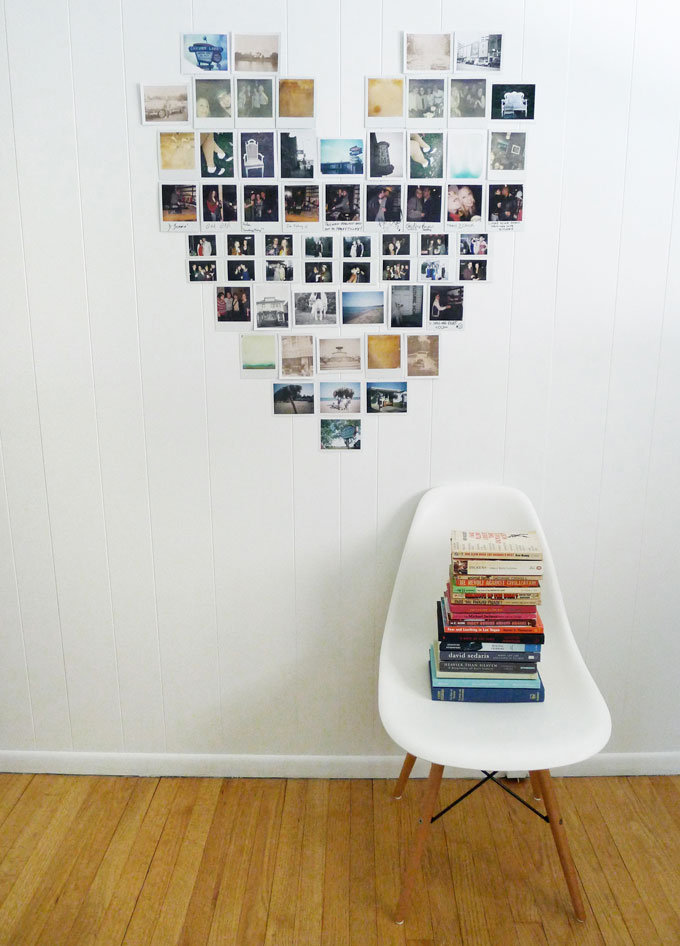
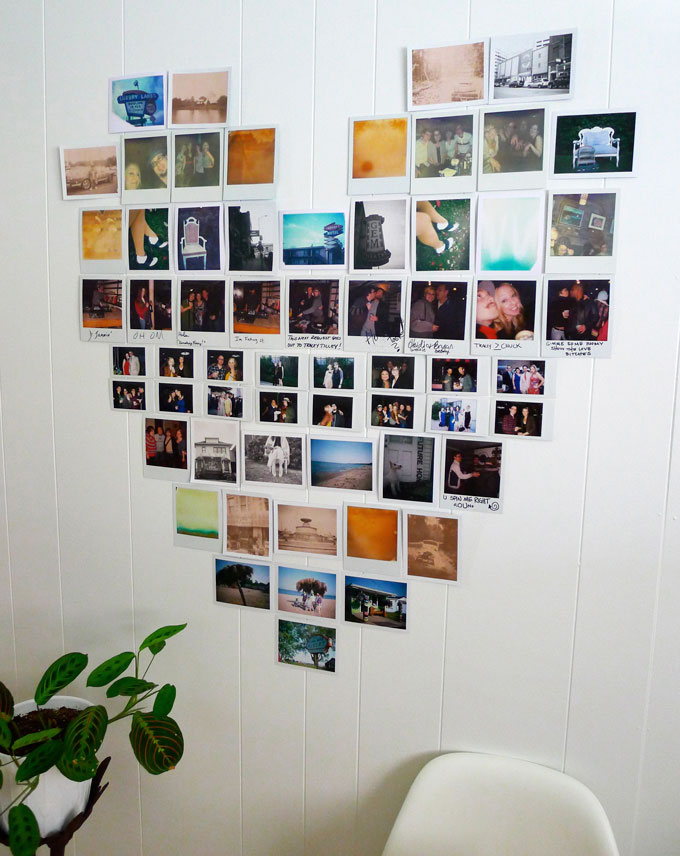
Inspired by this photo I found on Pinterest (and this one and this one) I decided to grab a stack of Polaroids and turn them into a heart shaped collage for our dining room.
It’s the cutest.
By the way, I realize you may look at this collage and think that a tutorial is not necessary and that sticking a bunch of Polaroids to the wall in the shape of a heart doesn’t exactly seem like rocket science. You would be wrong in thinking that. Ok, so maybe it’s not as difficult as ROCKET SCIENCE, however this project took a lot of tweaking, and a fair amount of trial and error to get it to look like a symmetrical heart and not a giant blob, so trust me on this. Lucky for you, I’ve written a handy tutorial so you can bang this project out in no time. It’ll be a breeze.
Supplies Needed:
- 53 Polaroids or printed photos approximately 3.5 inches by 4.5 inches. Because I use a variety of instant film, my Polaroids were not all the exact same size but it still worked out fine. I also used two instax minis in place of one regular sized Polaroid for an entire row.
- A roll of painters/masking tape or command poster strips
- Measuring tape
- A long ruler (optional)
Keep in mind, you don’t have to use actual Polaroids for this. You can print out your own digital photos at home, or use a service like Printstagram to print out instragram photos from your phone. Be creative with it. Maybe pick a theme. You could do an entire collage of just your pets. Or kids. They could be all travel or wedding photos. You could use all black and white photos, or if you want one big pop of color, run all your photos through a colored filter before printing them. Maybe you’re a weirdo and you want to use all naked photos of yourself because you’re very happy with how you look naked. In which case, congratulations to you. But I’m not here to judge.
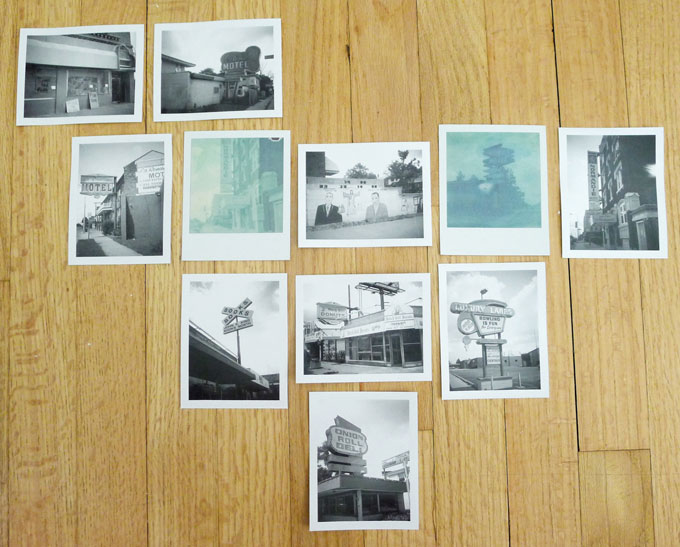
I first constructed my collage on the floor so I could easily make tweaks and perfect it before sticking everything to the wall. You should do this too.
Start from the bottom, laying your Polaroids out on the floor, and build your rows up.
Because I love you, I created this handy little diagram to help you lay out all 53 photos.
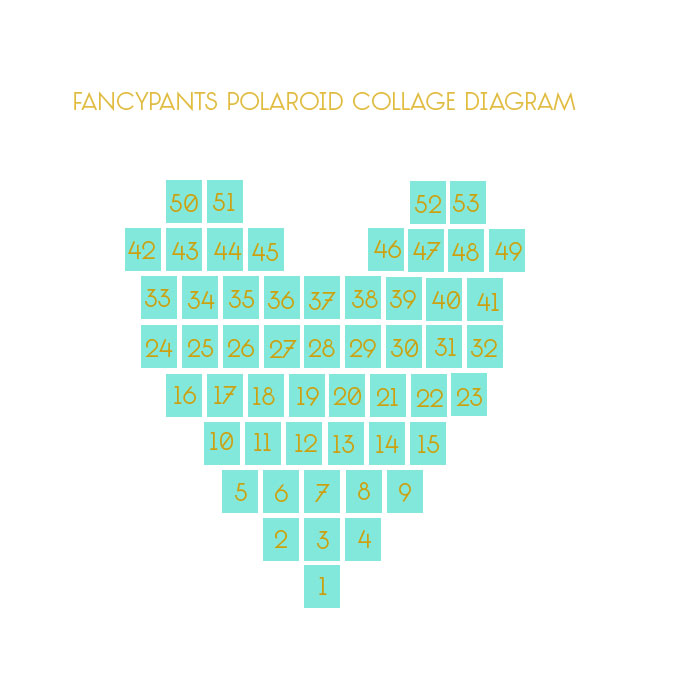 Once you have the collage constructed on the floor, feel free to swap the Polaroids around as you see fit. You can group colors together, or just randomly mix them up until they look good. That’s what I did.
After you have everything set up exactly the way you want it on the floor, snap a photo of the collage with your phone or a digital camera so you can reference the pattern and exact placement as you transfer each Polaroid to the wall. This is very important! I probably referenced my photo 532 times.
Next, mark onto your wall where you want the bottom Polaroid of the heart to sit. I recommend measuring the entire collage first, so you can decide exactly where to place it. My collage turned out to be 36 inches tall by 32 inches wide.
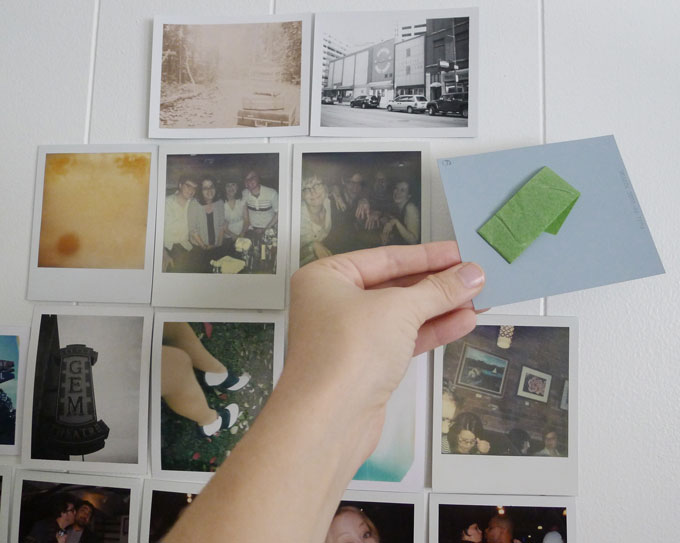
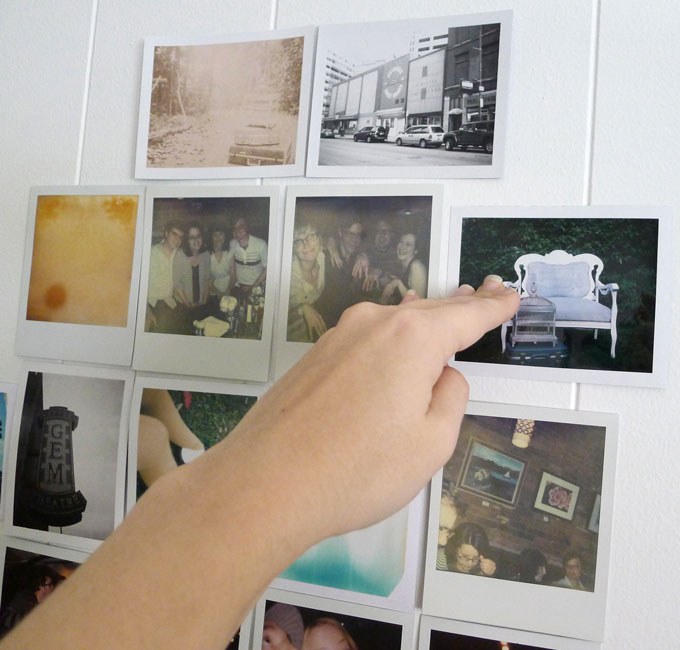
Then, simply take the very bottom Polaroid, add tape or a command strip to the back, and stick it to the spot you just marked on your wall. Work your way up, one by one, row by row, from the bottom. Use a ruler (if necessary) to keep a straight line.
Now go forth, people of my blog, and create Polaroid collages on every wall of every home.
Seriously, wouldn’t this be adorable in a little girl’s room? Or a nursery? Or your kitchen? Every time I walk into our dining room it makes me smile.
I heart it.
ba-dum-dum-CHING!
September 14, 2012This entry was posted in Decorating, DIY Projects, Photography and tagged collage, dining room, heart, heart shaped, heart shaped photo collage, how to make a heart out of photos, instagram, instax mini, make a heart out of polaroids, polaroid. Bookmark the permalink.













This article is a great help to me! Thank you!
This is awesome!
I love this. Something similiar has been on my to-do list for a while now…thanks for the inspiration! xo
Thanks Linda! I popped over to your etsy shop and I love your monogram notecards! Beautiful work.
This is great! I love how you doubled up the line with the smaller polaroids. The layout is fantastic!
Thanks Amber!
This is freaking adorable. Can I gush over the antique-ness of some of the photos too? What a cute idea! I think I might do this, but as a circle or some other shape.
Thanks Charlene! Good luck with your project!
what a great idea, love it!
Thanks Julia! I love your golden leaves project. I might have to try that!
wow…I really love this! I would LOVE for you to link this up at my Ginger Jamboree Link Party!!
Thanks Megan! I missed the link party, but I’m enjoying looking through all the projects.
Okay, this is just awesome! May have to find a place for this in my house…
Visiting from The Pinterest Challenge at Young House Love!
Thanks Jenna! I’m envious of all your sewing projects.
I love this so much, I really need to find a spot to make one at my place
Thanks Tamsyn!
Great website!
Pingback: Turn Instagram Photos Into Personalized Wall ArtThe Interior Project
Good day! I know this is kinda off topic nevertheless I’d figured I’d ask.
Would you be interested in exchanging links or
maybe guest authoring a blog article or vice-versa? My site covers a lot of the same topics as yours and I think we could greatly
benefit from each other. If you are interested
feel free to shoot me an e-mail. I look forward to hearing from you!
Awesome blog by the way!